
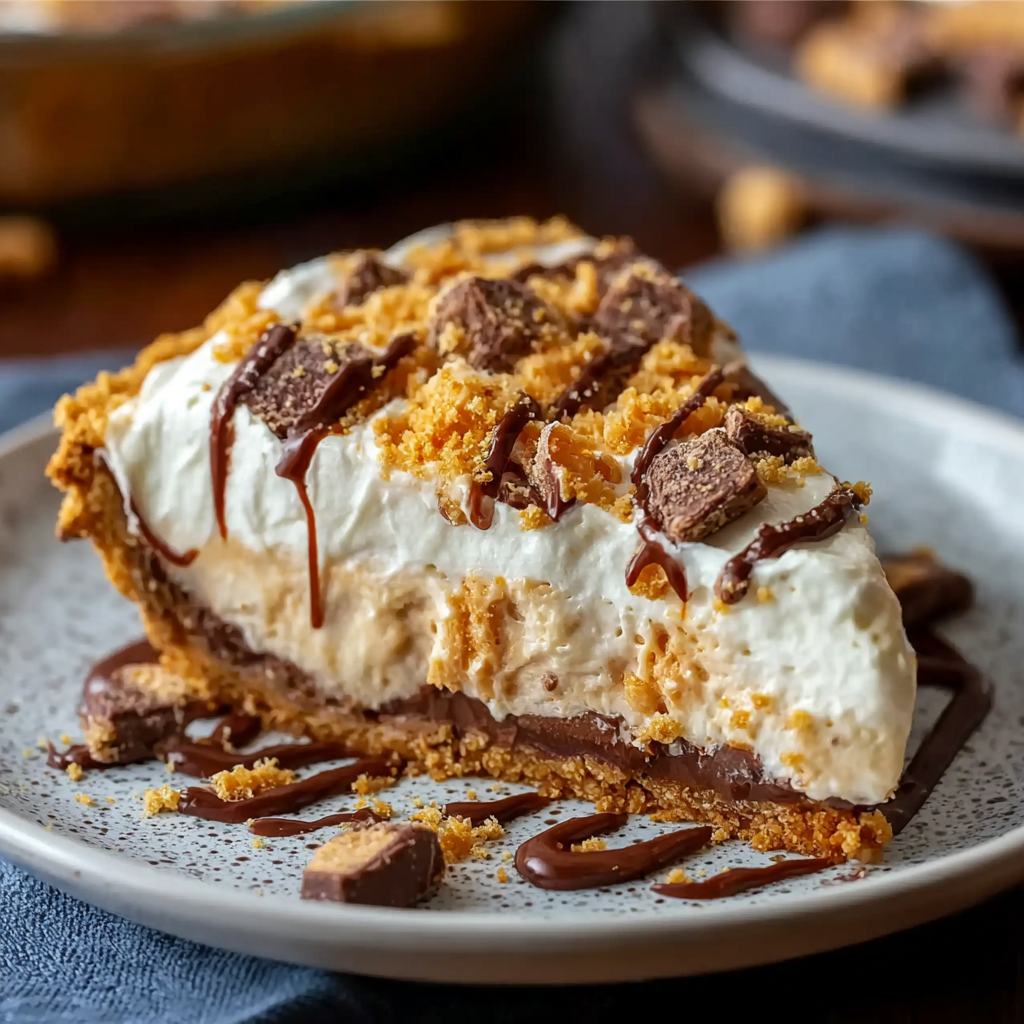
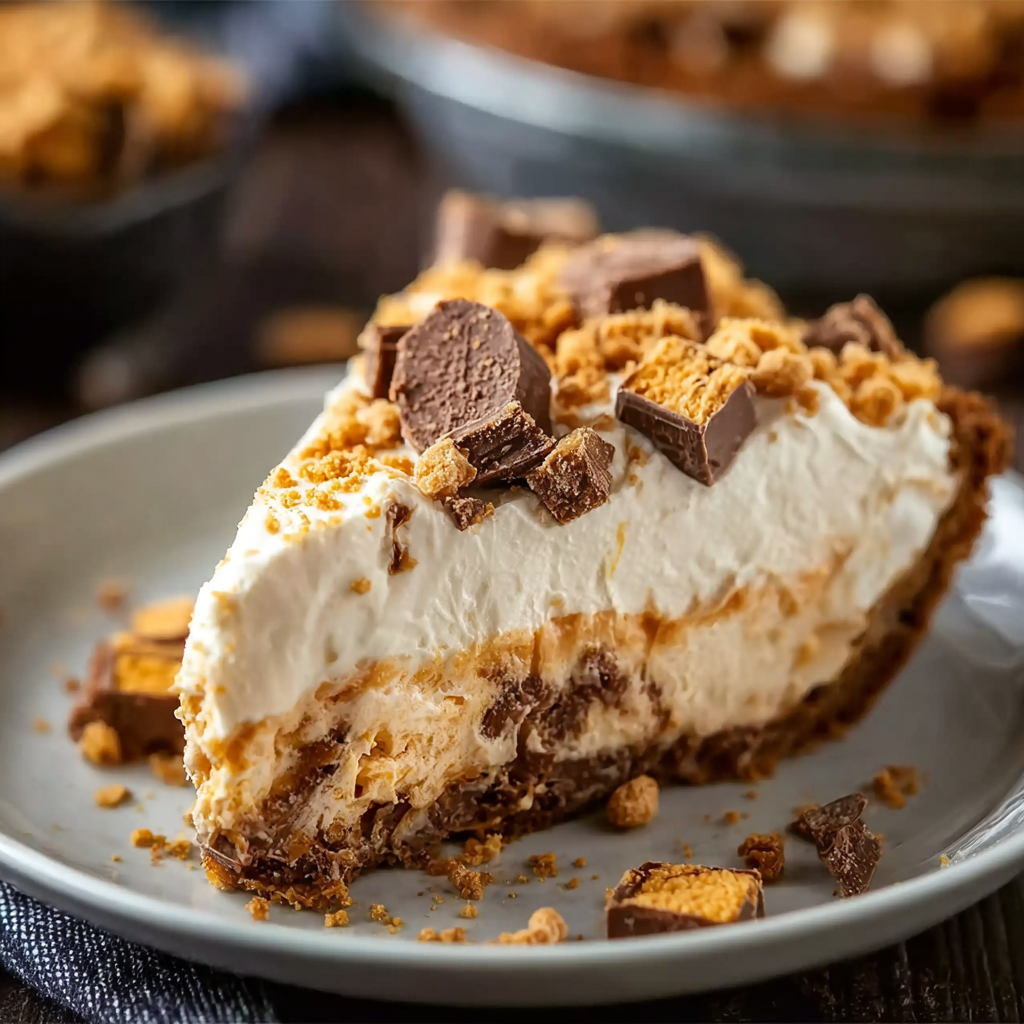
Butterfinger Pie

Cool, creamy and impossibly easy: a no-bake Butterfinger pie that layers peanut butter, cream cheese and crushed candy over a chocolate crust—perfect for parties and potlucks.
This Butterfinger pie is one of those richly nostalgic desserts that shows up at family gatherings and instantly disappears. I first made this after tasting a slice at a summer picnic hosted by a neighbor; the combination of sweet, crunchy candy mixed into a silky peanut butter-cream cheese filling was impossible to forget. It is cool, creamy, and more forgiving than most chilled desserts—perfect for last-minute entertaining or a simple end to a busy weeknight. I began keeping the ingredients on hand because it takes just a few minutes to assemble, and the results look like something you spent far more time on than you did.
What makes this pie special is the texture contrast. A chocolate cookie or graham crust gives a sturdy base, the filling is velvety with a gentle peanut butter tang, and scattered crushed Butterfinger pieces add that iconic flaky crunch. I love serving it straight from the fridge, when the filling is set but still soft enough to spread. It’s also an excellent make-ahead dessert: prepare in the morning for evening guests and the flavors will meld beautifully. This version is adapted from Christin Mahrlig’s popular recipe and stays true to the simple, no-bake spirit that makes it a perennial favorite.
Why You'll Love This Recipe
- Ready in minutes—active prep is about 15 minutes, and then it chills in the refrigerator while you relax or prepare the rest of your meal.
- Uses pantry and grocery-store staples: cream cheese, peanut butter, powdered sugar, Cool Whip, and a pre-made chocolate crust make this low-effort but high-impact.
- Crowd-pleaser for all ages—the candy and peanut butter combination appeals to kids and adults alike and is ideal for potlucks or birthday gatherings.
- Make-ahead friendly—assemble up to 24 hours before serving; flavors deepen and the filling firms for cleaner slices.
- Customizable—swap the candy, change the crust, or add a drizzle of chocolate for a fancier finish without losing simplicity.
- Minimal equipment required: a hand-held mixer and a few bowls are all you need to pull this together quickly.
In my kitchen this pie has become synonymous with summer parties. I remember my niece’s face lighting up when she discovered the crushed Butterfinger surprise inside each slice. Over the years I’ve learned the small tricks—room-temperature cream cheese, folding gently, and reserving a couple of candy bars for the top—that ensure consistent results every time.
Ingredients
- Cream cheese (1 8-ounce package): Use full-fat cream cheese at room temperature for the smoothest filling. Brands like Philadelphia provide dependable consistency; chilling the package beforehand makes it easier to measure but allow to soften before mixing.
- Creamy peanut butter (1/2 cup): Jif or Skippy-style peanut butter gives a classic, slightly sweet peanut flavor. Natural peanut butter can be used but stir it thoroughly and expect a slightly looser mouthfeel.
- Vanilla extract (2 teaspoons): Pure vanilla extract provides depth—avoid imitation extract for the best aroma.
- Powdered sugar (1 1/2 cups): Confectioners’ sugar smooths the filling and sweetens evenly; sift if lumpy.
- Butterfinger bars (1 12.5-ounce bag, fun-sized; reserve 2 bars): Crush the fun-sized bars into small, flaky pieces. Reserve two whole bars to chop and sprinkle on top for garnish and texture contrast.
- Cool Whip (1 8-ounce container, thawed): Thawed whipped topping keeps this no-bake filling light. If you prefer, whipped cream stabilized with a bit of powdered sugar works too.
- Store-bought chocolate cookie or chocolate graham cracker crust (9-inch): A pre-made crust saves time and keeps the base crisp. Oreo-style crusts pair especially well with the candy crunch.
Instructions
Prepare the bowl and ingredients: Set the 8-ounce cream cheese on the counter for 30 minutes to reach room temperature; this prevents lumps. Thaw the 8-ounce Cool Whip in the refrigerator according to package directions. Measure and crush the Butterfinger bars by placing them in a zip-top bag and pounding lightly with a rolling pin until you have small, flaky pieces. Beat cream cheese and peanut butter: Place the softened cream cheese and 1/2 cup creamy peanut butter in a large mixing bowl. Add 2 teaspoons vanilla extract. Using a hand-held electric mixer on medium speed, beat until the mixture is completely smooth and no streaks remain, about 1 to 2 minutes. Scrape the sides of the bowl with a spatula to ensure even texture. Add powdered sugar: With the mixer running on low, gradually add 1 1/2 cups powdered sugar to avoid a dust cloud. Continue beating until the filling is silky and well combined, 1 to 2 minutes more. Taste and adjust sweetness if desired, but remember the candy will add extra sugar. Fold in candy: Gently fold in the crushed Butterfinger pieces using a spatula. Reserve about 2 tablespoons of crushed candy for the top. Folding preserves the candy’s crunchy texture—avoid overmixing, which will break the pieces down further. Incorporate whipped topping: Fold the thawed Cool Whip into the peanut butter mixture in three additions. Use a light hand so the filling remains airy. Stir until fully combined and smooth, with even distribution of candy pieces. Assemble and chill: Spread the filling evenly into the store-bought chocolate crust, smoothing the top with an offset spatula. Sprinkle the reserved chopped Butterfinger bars over the surface. Cover with plastic wrap and refrigerate for at least 4 hours; overnight is ideal for the cleanest slices. Serve: Remove the pie from the refrigerator 10 minutes before slicing for easier cutting. Use a sharp knife dipped in hot water and wiped dry between cuts for neat slices. Garnish each piece with additional candy or a drizzle of melted chocolate if desired.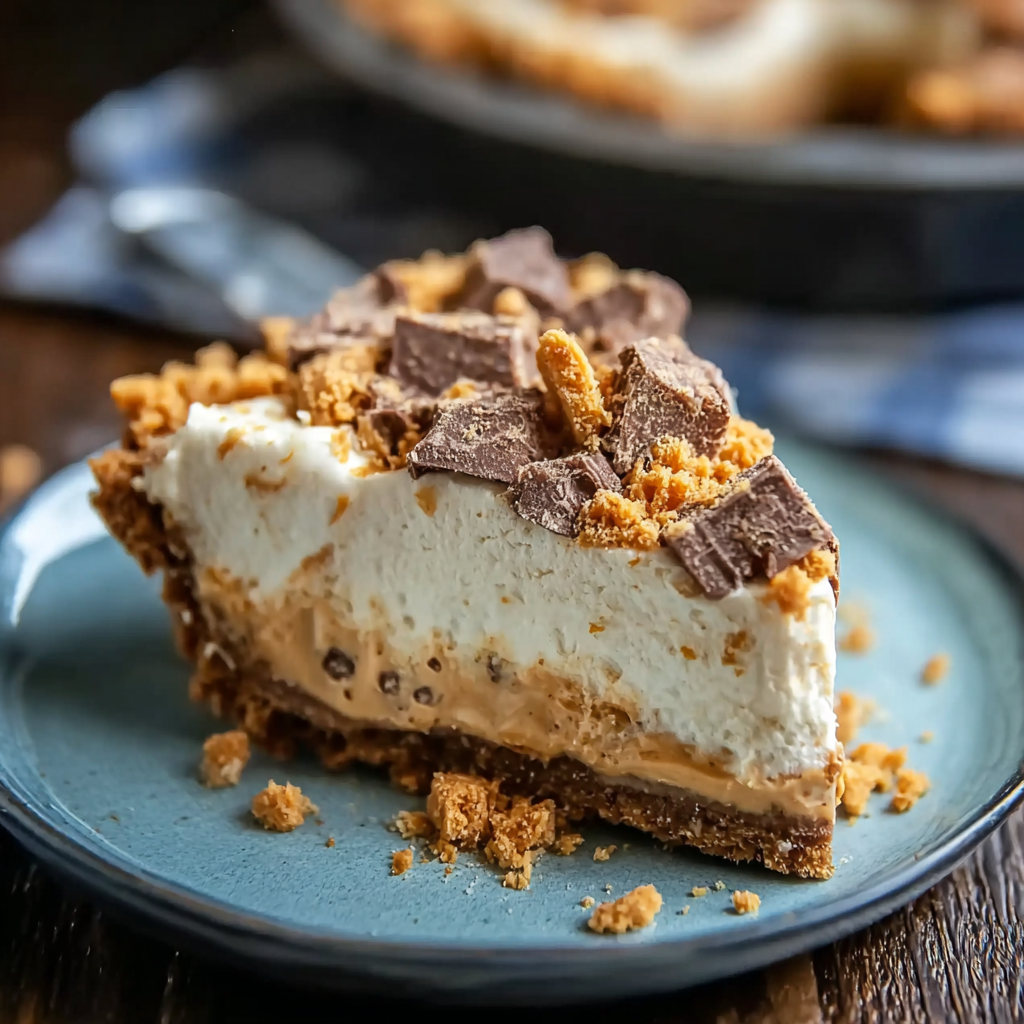
You Must Know
- Nutrition per serving is indulgent: roughly 657 calories, 81g carbohydrates, 35g fat, and 10g protein—treat-sized slices are recommended for parties.
- Storage: keeps well refrigerated for up to 3 days in an airtight container; freeze slices up to 3 months wrapped tightly in plastic and foil.
- Allergen note: contains peanuts, dairy, and gluten when using a standard crust; adjust if serving allergy-sensitive guests.
- Chilling time is essential: the filling firms as it cools, so don’t skip the minimum 4-hour chill if you want clean slices.
My favorite part about this dessert is how forgiving it is. Even when I’ve had to double the batch for a family reunion, the simple assembly and predictable results mean I can focus on plating and conversation. Guests always ask for the recipe, and it has a reliable, nostalgic charm that brings people back for seconds.
Storage Tips
Refrigerate the pie in an airtight pie container or cover the top tightly with plastic wrap to prevent odor transfer. Store for up to 3 days for best texture; after that the crust begins to soften and the candy flakes can lose some crunch. For longer storage, slice the pie into individual portions, wrap each slice in plastic wrap followed by a layer of aluminum foil, and freeze up to 3 months. To serve frozen slices, thaw in the refrigerator for 4 to 6 hours or at room temperature for 30 to 60 minutes—this helps retain shape while bringing the filling to a pleasant serving temperature.
Ingredient Substitutions
If you want to change the flavor profile, try substituting the candy: Snickers or chopped Twix add caramel and nougat notes, while Heath toffee pieces give a buttery toffee crunch. Use natural peanut butter if you prefer a less sweet finish, but reduce any added sugar slightly as natural nut butters can vary in sweetness. For a lighter version, swap Cool Whip for freshly whipped cream stabilized with 1 tablespoon of powdered sugar and 1 teaspoon cornstarch; the texture will be slightly softer. Gluten-free pie crusts are available if you need to make the dessert gluten-free—just confirm the candy and whipped topping are also GF.
Serving Suggestions
Serve slices chilled with a small dollop of whipped cream or a thin drizzle of warm chocolate sauce for an elegant touch. Pair with coffee, milk, or a scoop of vanilla ice cream for contrast. For a party platter, cut into small squares and garnish each with a tiny mint leaf or a sprinkle of sea salt to balance the sweetness. This pie shines on casual gatherings, birthday tables, and potlucks—its candy-studded filling always draws interest and makes tempting displays.
Cultural Background
This style of chilled, candy-studded pie is a distinctly American indulgence, rooted in the tradition of convenience desserts that rose to popularity in the mid-20th century with the advent of pre-made crusts and stabilized whipped toppings. Combining a candy bar into a creamy filling is an evolution of classic no-bake pies like peanut butter pie and chocolate silk—celebrating convenience without sacrificing nostalgic flavors. Variations across regions often substitute local candy favorites or add regional nuts and syrups.
Seasonal Adaptations
For warm-weather entertaining, keep the pie well chilled and serve in a cool room or shaded patio to maintain texture. During the holidays, consider mixing in chopped peppermint bark or using crushed peppermint candies on top for a festive twist. In autumn, swap Butterfinger for chopped candy corn or add a tablespoon of pumpkin spice to the filling for a seasonal echo. Small ingredient swaps let this simple method adapt to any season or celebration.
Meal Prep Tips
Prepare the filling up to 24 hours in advance and store it covered in the refrigerator; fold in the candy and assemble into the crust just before your final chill to preserve crunch. If you’re making multiple pies, the filling scales well—double ingredients and use a stand mixer to save time. Keep a small jar of reserved crushed candy in the pantry for last-minute sprinkling to make each pie look freshly finished before serving.
In closing, this Butterfinger pie is a testament to how a handful of quality ingredients and a few simple techniques can create something genuinely celebratory. It’s forgiving, fast, and always a hit—so tuck the recipe into your entertaining repertoire and enjoy the guilty-pleasure smiles it brings.
Pro Tips
Always bring cream cheese to room temperature to avoid lumps and achieve a silky filling.
Reserve a small amount of crushed candy to sprinkle on top for a fresh-looking finish.
Use a hot, dry knife wiped between cuts for neat, clean slices.
This nourishing butterfinger pie recipe is sure to be a staple in your kitchen. Enjoy every moist, high protein slice — it is perfect for breakfast or as a wholesome snack any time.
FAQs about Recipes
How long should the pie chill before serving?
Chill the pie for at least 4 hours, but overnight yields the cleanest slices.
Can I freeze the pie?
Yes—slice, wrap, and freeze for up to 3 months. Thaw in the refrigerator before serving.
Tags
Butterfinger Pie
This Butterfinger Pie recipe makes perfectly juicy, tender, and flavorful steak every time! Serve with potatoes and a side salad for an unforgettable dinner in under 30 minutes.
Ingredients
Filling
Crust
Instructions
Bring ingredients to room temperature
Set the 8-ounce cream cheese on the counter for 30 minutes to soften; thaw the 8-ounce Cool Whip according to package directions. Crushing the candy ahead of time speeds assembly.
Beat cream cheese and peanut butter
In a large bowl, beat the softened cream cheese with 1/2 cup creamy peanut butter and 2 teaspoons vanilla extract until smooth and free of lumps, about 1 to 2 minutes with a hand mixer.
Incorporate powdered sugar
With the mixer on low, gradually add 1 1/2 cups powdered sugar, mixing until the filling is silky and evenly sweetened; scrape the bowl as needed.
Fold in crushed candy
Gently fold in the crushed Butterfinger pieces, reserving a small amount for the topping. Avoid overmixing to preserve candy texture.
Fold in whipped topping
Fold thawed Cool Whip into the filling in three additions to keep the mixture light and airy; stop when uniform.
Assemble and chill
Spread the filling evenly into the store-bought crust, sprinkle reserved candy on top, cover, and refrigerate for at least 4 hours or overnight for clean slices.
Slice and serve
Use a hot, dry knife wiped between cuts to slice the pie into eight portions. Let stand 10 minutes at room temperature for easier cutting if needed.
Last Step: Please leave a rating and comment letting us know how you liked this recipe! This helps our business to thrive and continue providing free, high-quality recipes for you.
Nutrition
Did You Make This?
Leave a comment & rating below or tag
@kitchenfunwithmy3sons on social media!
Categories:
You might also like...

10 Minute Immune Boosting Broth
A fast, nourishing broth packed with garlic, ginger, miso, and turmeric to support immunity. Ready in 10 minutes and naturally dairy free, gluten free, and vegan.
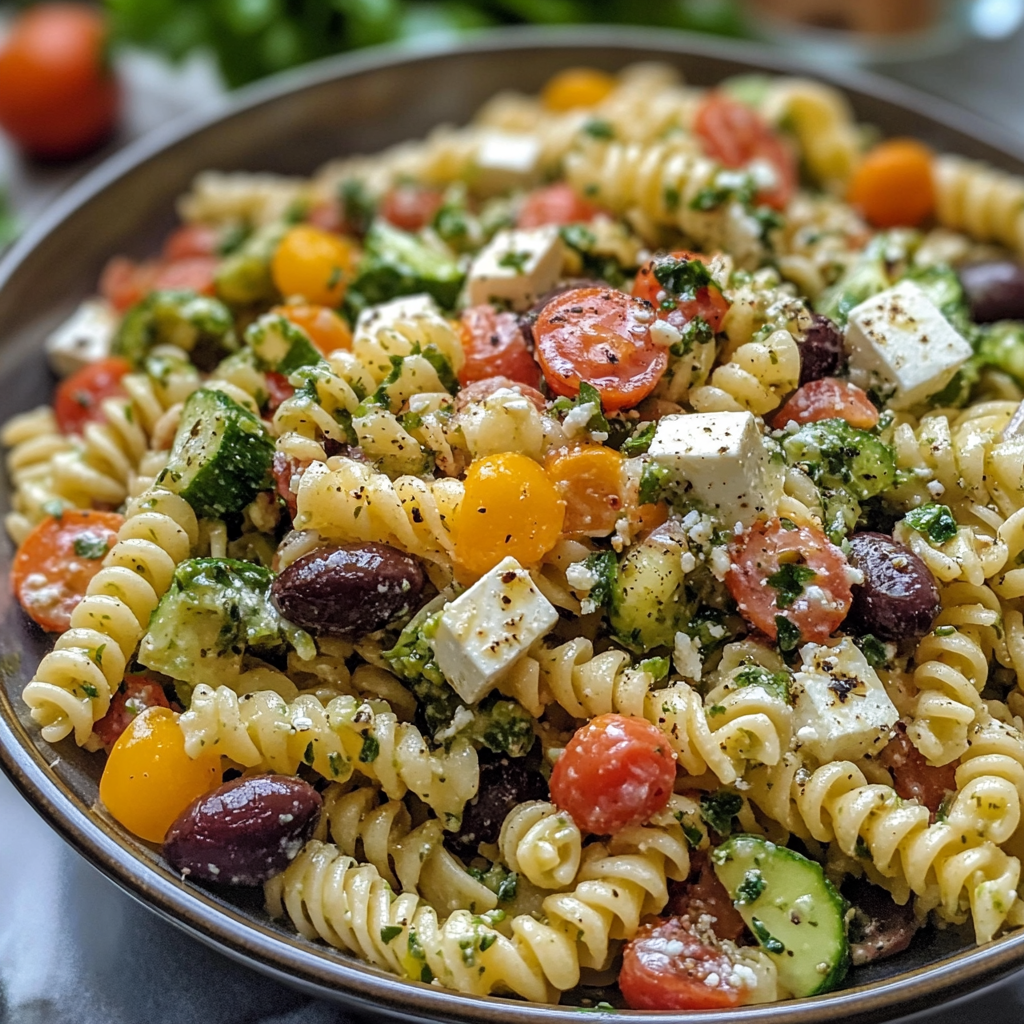
20-Minute Greek Pasta Salad
A bright, quick Greek-style pasta salad loaded with crunchy vegetables, Kalamata olives, tangy feta, and a creamy tzatziki dressing—ready in 20 minutes and perfect for summer gatherings.
Air Fried Crispy Onion
Make perfectly caramelized crispy onions in an air fryer with just a touch of oil for a crunchy, savory topping that elevates any dish.
Did You Make This?
Leave a comment & rating below or tag @kitchenfunwithmysons on social media!
Rate This Recipe
Share This Recipe
Enjoyed this recipe? Share it with friends and family, and don't forget to leave a review!
Comments (1)
This recipe looks amazing! Can't wait to try it.
Comments are stored locally in your browser. Server comments are displayed alongside your local comments.
Hi, I'm Rachel!
What's Popular

Get My 30-Minute Meals email series!
Quick and easy dinner ideas delivered to your inbox.