
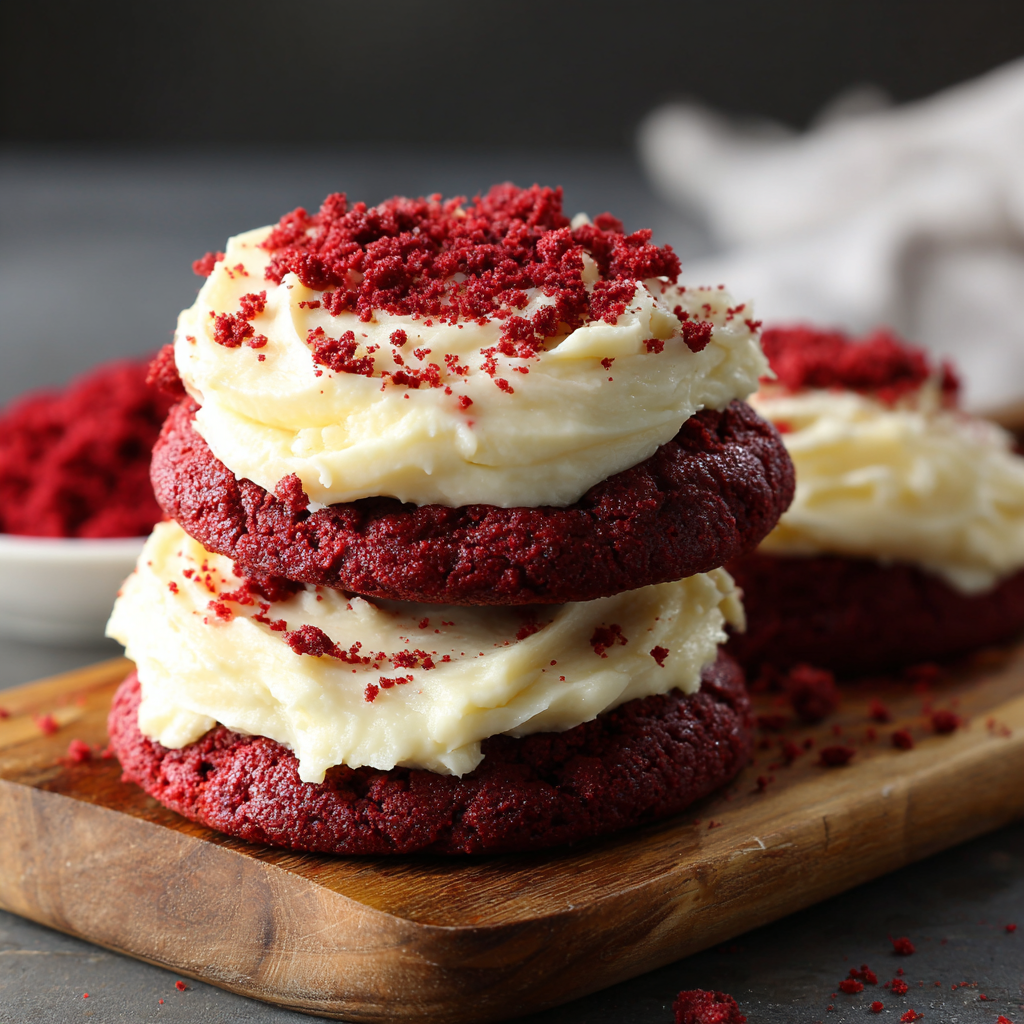
Frosted Red Velvet Cupcake Cookies

A cross between chewy cookies and tender cupcakes — airy, domed centers with a chewy edge, finished with silky cream cheese frosting and a sprinkle of crumbs.
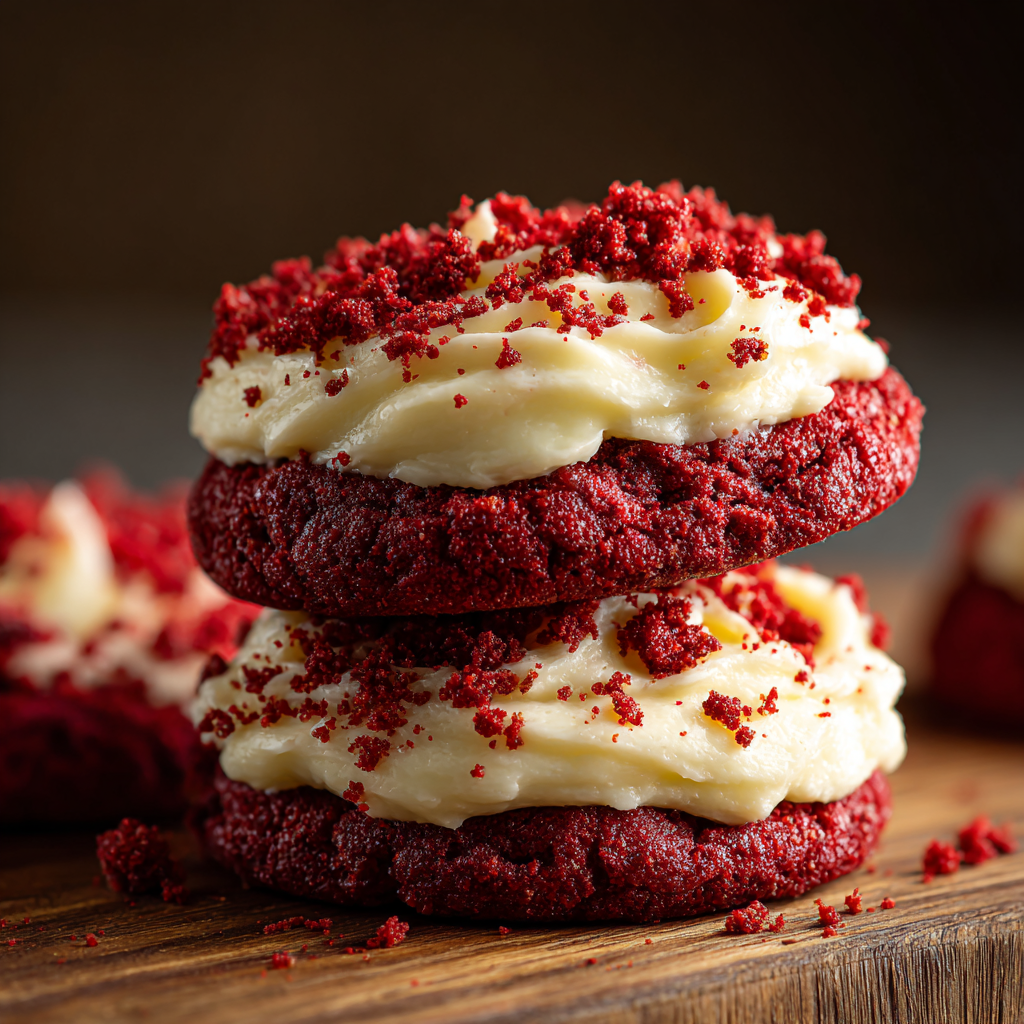
This recipe for frosted red velvet cupcake cookies is one of those discoveries that instantly became a celebration staple in my kitchen. I first made it on a rainy afternoon when I wanted the height and tenderness of a cupcake but the convenience and chew of a cookie. The dough puffs and domes like a mini cupcake top while maintaining that chewy edge we all crave in a cookie. Topped with a rich cream cheese swirl and a few crumbled cookie pieces, these are as beautiful as they are delicious.
I remember bringing a tin of these to a neighborhood potluck and watching them disappear within an hour — neighbors came back for seconds and asked for the recipe. The combination of a tender crumb, subtle cocoa notes, and bright red color makes them festive for holidays, birthdays, or an anytime treat. The creamy frosting balances the lightly chocolate-y cookie base and the vinegar-vanilla tang lifts the overall sweetness.
Why You'll Love This Recipe
- They deliver the best of both worlds: the dome and tender interior of a cupcake with the chewy edges and quick bake time of a cookie, ready in about 50 minutes from start to finish.
- Uses pantry-friendly staples — all-purpose flour, cocoa, sugars — with a simple addition of gel food coloring for that classic red hue, making it easy to pull together on short notice.
- Make-ahead friendly: cookies freeze well before frosting, and the frosting can be made and stored in the fridge for up to 3 days, saving time for parties or gifting.
- Crowd-pleasing texture that's soft in the center and slightly crisp on the edges; the cream cheese frosting adds a silky finish that’s never too sweet.
- Customizable: you can pipe elegant rosettes or spread a casual swirl; add crushed cookies on top for crunch or swap decorations for seasonal themes.
- Flexible for dietary tweaks — you can swap neutral oil or experiment with lower-sugar frosting if needed.
From my first test batch to now, the family reaction has been consistently enthusiastic. My niece declared them her favorite cookie, and my partner keeps requesting them for gatherings. I learned to scoop generously — a large scoop gives the perfect dome — and to resist opening the oven too early: that mid-bake set is the key to the cupcake-like top.
Ingredients
- All-purpose flour (1 1/2 cups / 180 g): Use a spoon-and-level method for accurate measurement. King Arthur or any unbleached all-purpose yields consistent structure and tenderness in the crumb.
- Unsweetened cocoa powder (1/4 cup / 20 g): Dutch-processed or natural cocoa both work; Dutch will deepen the chocolate notes and color slightly.
- Instant milk powder (1 tbsp): Adds richness and helps tenderize the crumb — skip only if strictly dairy-free.
- Cornstarch (1 tbsp): Gives a soft, cakey interior by limiting gluten development; it’s the trick for that cupcake-like lift in a cookie.
- Baking powder (1/2 tsp) & baking soda (1/4 tsp): Together they provide lift and a touch of browning.
- Salt (1/4 tsp): Balances the sweetness and reinforces chocolate flavor.
- Unsalted butter (1/2 cup / 1 stick): Room temperature for proper creaming; I prefer Plugrá or Kerrygold for flavor but any unsalted stick will work.
- Vegetable oil (3 tbsp): Adds tenderness and keeps edges soft; use a neutral oil such as canola if you prefer.
- Brown sugar (1/2 cup packed): Use light or dark — dark adds a deeper molasses note.
- Granulated sugar (1/2 cup): Balances moisture and gives structure; a blend of sugars helps chewiness.
- 1 large egg: Room temperature for stable emulsion and lift.
- Vanilla extract (1 tsp) & white vinegar (1 tsp): The vinegar reacts with baking soda for extra lift and keeps the crumb tender; together with vanilla it brightens flavor.
- Red gel food coloring (1–2 tsp): Use gel or powdered color for intensity without watering down the dough; adjust to reach your preferred hue.
- Cream cheese (3 oz) & unsalted butter (6 tbsp) for frosting: Use full-fat block-style cream cheese (not spreadable), softened to room temperature for the smoothest swirl.
- Powdered sugar (1 1/2 cups / 195 g): Sift if lumpy to ensure silky frosting.
Instructions
Preheat and prepare: Preheat the oven to 350°F. Line two large baking sheets with parchment paper. Having the sheets ready prevents over-handling of the sticky dough and ensures even baking. Combine dry ingredients: In a medium bowl whisk together the flour, cocoa, instant milk powder, cornstarch, baking powder, baking soda, and salt until homogenous. Sifting is optional but helps avoid lumps in the cocoa powder. Cream fats and sugars: In a large bowl whisk the softened butter, oil, brown sugar, and granulated sugar until smooth and slightly lightened. The oil helps keep the texture tender while the creamed butter provides structure; whisk until the mixture is cohesive, about 30–45 seconds by hand. Add wet flavorings: Whisk in the egg and vanilla until combined. Add the vinegar and stir in the red gel food coloring — it will look very bright before the dry ingredients are folded in. The vinegar reacts with the baking soda to support dome formation during baking. Fold to form dough: Add the dry ingredients and fold gently with a spatula until a thick, sticky dough forms. Avoid overmixing; stop once no streaks of flour remain. The dough will be quite sticky, which is expected. Scoop and space: Use a large cookie scoop (3 to 4 tablespoons) to portion dough onto the prepared parchment, leaving ~3 inches between cookies so they can spread and dome properly. Bake: Bake in the center of the preheated 350°F oven for 12–15 minutes until puffed and slightly spread with the bottom edges turning a light golden brown. Resist the urge to overbake; the centers should be set but still tender. Cool: Cool the cookies on the baking sheet for 5 minutes, then transfer to a wire rack to cool completely to room temperature before frosting to prevent the frosting from running. Make the frosting: Cream the block cream cheese and softened butter in a medium bowl until completely smooth and lump-free. Add the vanilla and powdered sugar and mix until silky. If the frosting feels too soft for piping, chill 30–60 minutes until it firms up to your desired consistency. Decorate: Pipe or spread frosting onto cooled cookies. Crumble any imperfect cookies and sprinkle crumbs on top for a pretty, textural finish.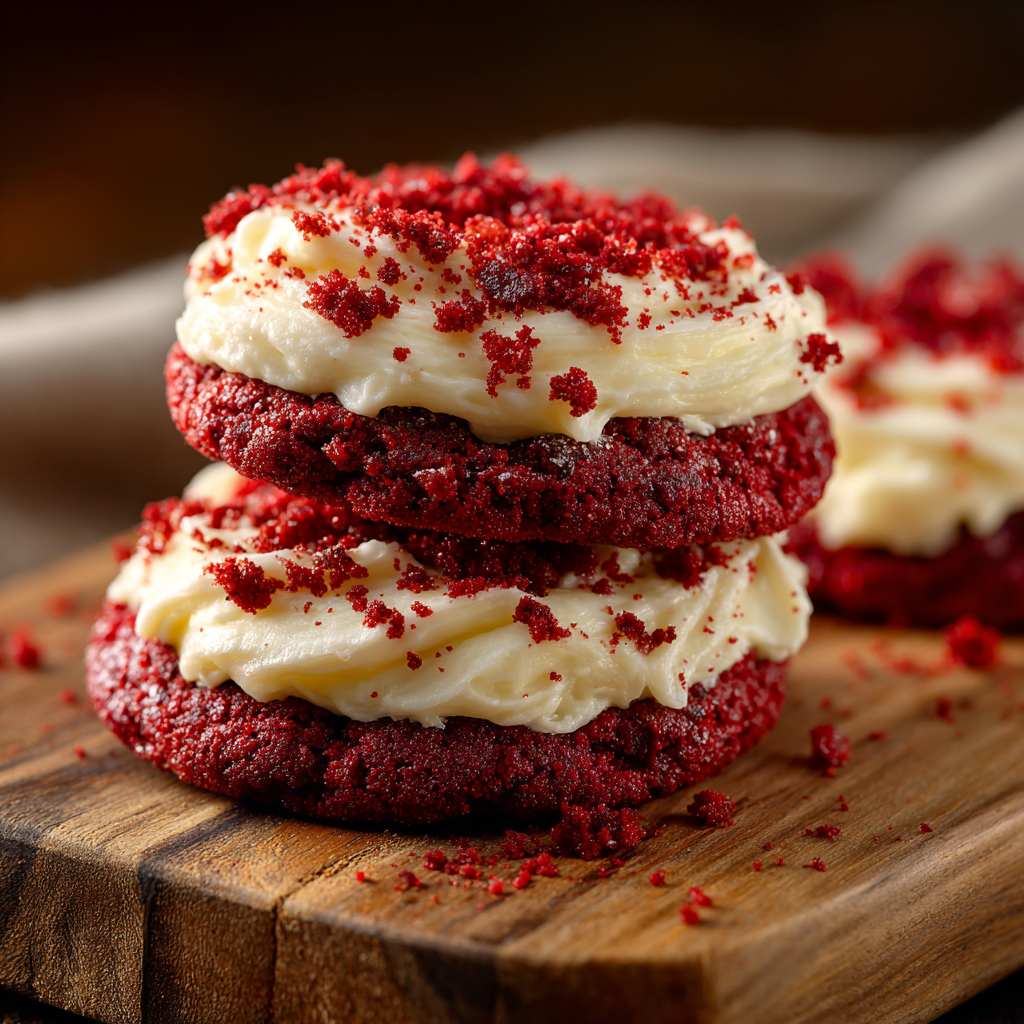
You Must Know
- These keep well in an airtight container in the refrigerator for up to 4 days; bring to room temperature before serving for best texture.
- Freeze unfrosted cookie dough balls on a sheet, then store in a sealed bag for up to 3 months; bake straight from frozen with an extra 1–2 minutes bake time.
- High in calories and sugar per portion — estimate roughly 620 kcal per cookie with frosting, so consider serving sizes for gatherings.
- Use gel or powdered food coloring; avoid liquid food coloring which can make the dough too wet and affect bake time and texture.
- For more vivid coloring use red gel in two stages: a small amount in the wet mix and another small dash when the dry ingredients are folded in if needed.
My favorite part about these is the show-stopping presentation with minimal effort — a quick swirl of frosting makes ordinary cookies look special. I often make a double batch when hosting because they vanish quickly; guests always ask if I made cupcakes. The crumb-topping trick (sprinkling crumbled cookie bits) adds a rustic bakery look and a little crunch that contrasts with the silky frosting.
Storage Tips
Store cooled, frosted cookies in a single layer in an airtight container in the refrigerator for up to 4 days. If stacking, place parchment between layers to protect the frosting. For longer storage, freeze unfrosted baked cookies in a single layer until firm, then transfer to a freezer-safe bag for up to 3 months; thaw in the fridge overnight and bring to room temperature before frosting. Frosting can be made ahead and refrigerated for up to 3 days; re-whip briefly before using if it firms up too much.
Ingredient Substitutions
If you need to swap ingredients: use coconut oil for a dairy-free alternative in the cookies, but note the frosting will no longer be traditional cream cheese. For a lower-sugar frosting, reduce powdered sugar by up to 1/3 and add a teaspoon of cornstarch to stabilize; the texture will be slightly less sweet and looser. You can replace instant milk powder with an equal weight of finely ground oats for a hint of nuttiness, but the crumb will be slightly denser.
Serving Suggestions
Serve these on a decorative platter for parties or packaged in cellophane bags for gifting. They pair beautifully with a simple espresso or a glass of cold milk. For seasonal flair, top with edible glitter, pistachio crumbs, or freeze-dried raspberry powder. For Valentine's Day, add a few heart sprinkles; for a holiday table, top with crushed peppermint for a festive crunch.
Cultural Background
Red velvet has a storied place in American baking — a mid-20th-century classic elevated by Southern hospitality and celebrations. Its distinctive red color historically came from reactions between natural cocoa and acidic ingredients like buttermilk or vinegar; modern recipes rely on food coloring to ensure consistency. Transforming that profile into a cookie takes cues from both cookie science and cake chemistry: cornstarch and a gentle balance of leaveners create the tender interior while sugar and butter maintain chew and flavor.
Seasonal Adaptations
Adapt this for seasons by swapping decorations and minor ingredient tweaks. In winter, add a pinch of warm spices to the dough (cinnamon and a tad of nutmeg) and top with crushed peppermint. In spring, pipe smaller rosettes and garnish with edible flowers. Summer gatherings call for lighter frosting — consider a whipped cream cheese topping with less sugar and serve chilled for a refreshing finish.
Meal Prep Tips
Prepare the dough, scoop onto a parchment-lined sheet, and freeze the scoops for an efficient make-ahead method. Bake frozen scoops when needed and cool before frosting. Alternatively, fully bake, cool, and freeze unfrosted cookies in single layers; defrost and frost the day of serving for a freshly finished look. Store baked-and-frosted cookies in the fridge and pull out an hour before serving so the frosting softens slightly.
These frosted red velvet cupcake cookies are a small-batch showstopper that feel special without demanding complicated techniques. Whether you make them for a party, a cozy afternoon treat, or a thoughtful edible gift, they reward a little patience with big flavor and charm. I hope they earn a permanent spot in your baking rotation.
Pro Tips
Use gel or powdered food coloring to avoid extra liquid that can alter dough texture.
Chill frosting if it’s too soft for piping, then re-whip lightly before using.
Scoop dough with a 3–4 tablespoon scoop for consistent domes and bake times.
Freeze scooped dough on a tray before storing to prevent sticking, then bake from frozen with +1–2 minutes.
This nourishing frosted red velvet cupcake cookies recipe is sure to be a staple in your kitchen. Enjoy every moist, high protein slice — it is perfect for breakfast or as a wholesome snack any time.
Tags
Frosted Red Velvet Cupcake Cookies
This Frosted Red Velvet Cupcake Cookies recipe makes perfectly juicy, tender, and flavorful steak every time! Serve with potatoes and a side salad for an unforgettable dinner in under 30 minutes.
Ingredients
Cream cheese frosting
Instructions
Preheat and prepare
Preheat oven to 350°F and line two baking sheets with parchment paper. This ensures even baking and easy transfer.
Mix dry ingredients
Whisk flour, cocoa, instant milk powder, cornstarch, baking powder, baking soda, and salt in a medium bowl until evenly combined.
Cream fats and sugars
In a large bowl whisk butter, oil, brown sugar, and granulated sugar until smooth and cohesive; this blend gives structure and tenderness.
Add wet ingredients and color
Whisk in the egg and vanilla, then add vinegar and gel food coloring until the mixture is brightly colored; color will deepen once dry ingredients are added.
Form the dough
Fold in dry ingredients gently until a sticky dough forms. Avoid overmixing to keep the interior tender.
Scoop and bake
Scoop generous portions (3–4 tbsp) onto prepared sheets with about 3 inches spacing. Bake at 350°F for 12–15 minutes until puffed and lightly golden at edges.
Cool and frost
Cool on the sheet 5 minutes, transfer to a wire rack to cool completely. For frosting, beat cream cheese and butter until smooth, add vanilla and powdered sugar, chill if necessary, then pipe or spread.
Last Step: Please leave a rating and comment letting us know how you liked this recipe! This helps our business to thrive and continue providing free, high-quality recipes for you.
Nutrition
Did You Make This?
Leave a comment & rating below or tag
@kitchenfunwithmy3sons on social media!
Categories:
You might also like...

10 Minute Immune Boosting Broth
A fast, nourishing broth packed with garlic, ginger, miso, and turmeric to support immunity. Ready in 10 minutes and naturally dairy free, gluten free, and vegan.
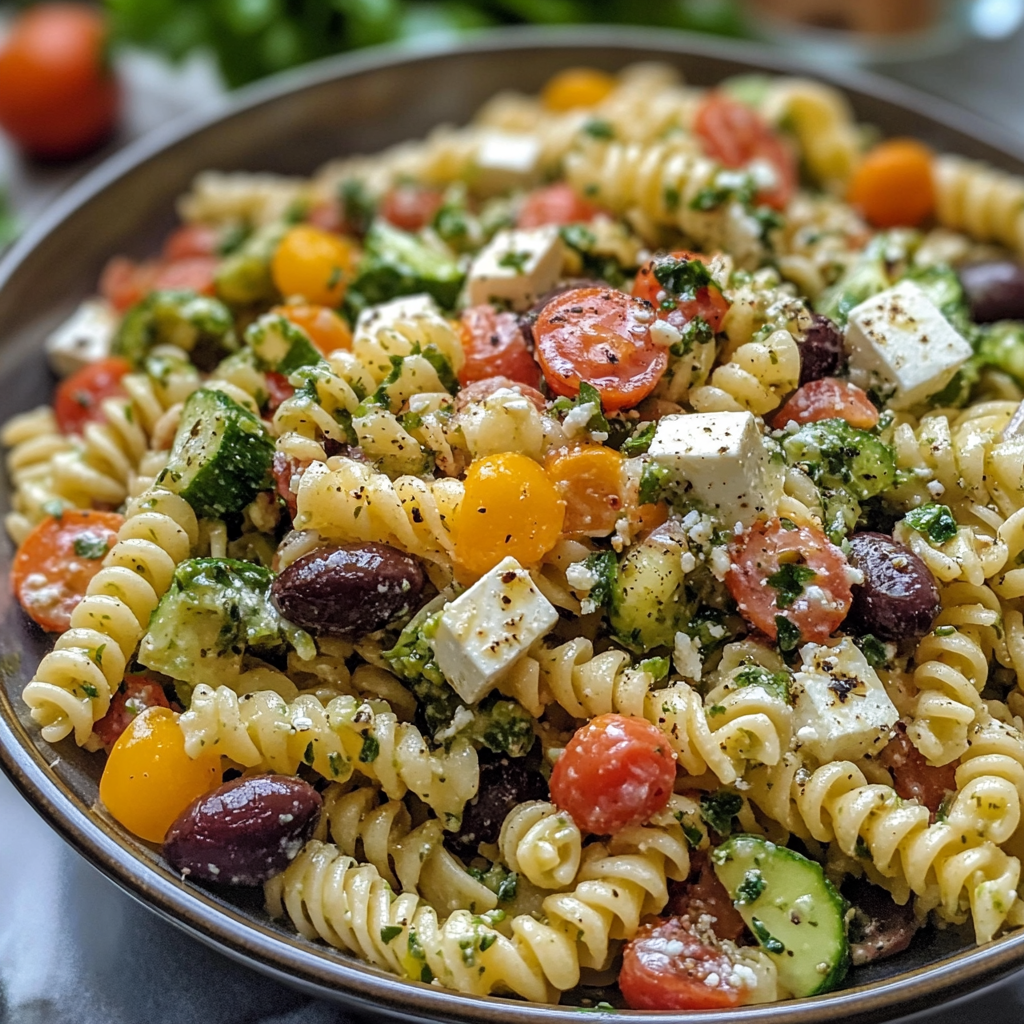
20-Minute Greek Pasta Salad
A bright, quick Greek-style pasta salad loaded with crunchy vegetables, Kalamata olives, tangy feta, and a creamy tzatziki dressing—ready in 20 minutes and perfect for summer gatherings.
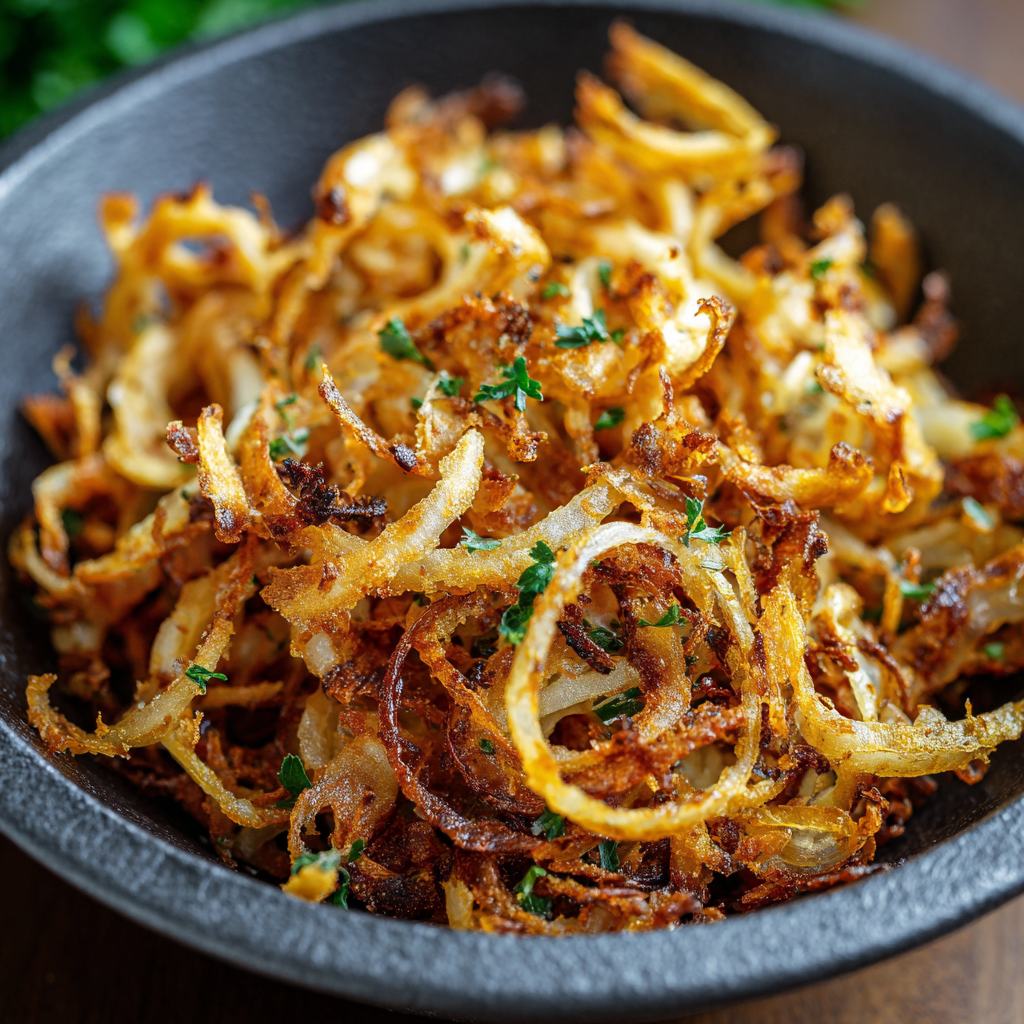
Air Fried Crispy Onion
Make perfectly caramelized crispy onions in an air fryer with just a touch of oil for a crunchy, savory topping that elevates any dish.
Did You Make This?
Leave a comment & rating below or tag @kitchenfunwithmysons on social media!
Rate This Recipe
Share This Recipe
Enjoyed this recipe? Share it with friends and family, and don't forget to leave a review!
Comments (1)
This recipe looks amazing! Can't wait to try it.
Comments are stored locally in your browser. Server comments are displayed alongside your local comments.
Hi, I'm Rachel!
What's Popular

Get My 30-Minute Meals email series!
Quick and easy dinner ideas delivered to your inbox.