
Light & Airy Chocolate Sponge Cake

A better-than-bakery light and airy chocolate sponge layered with raspberry jam and chocolate whipped cream — tender, delicate, and perfect for celebrations.
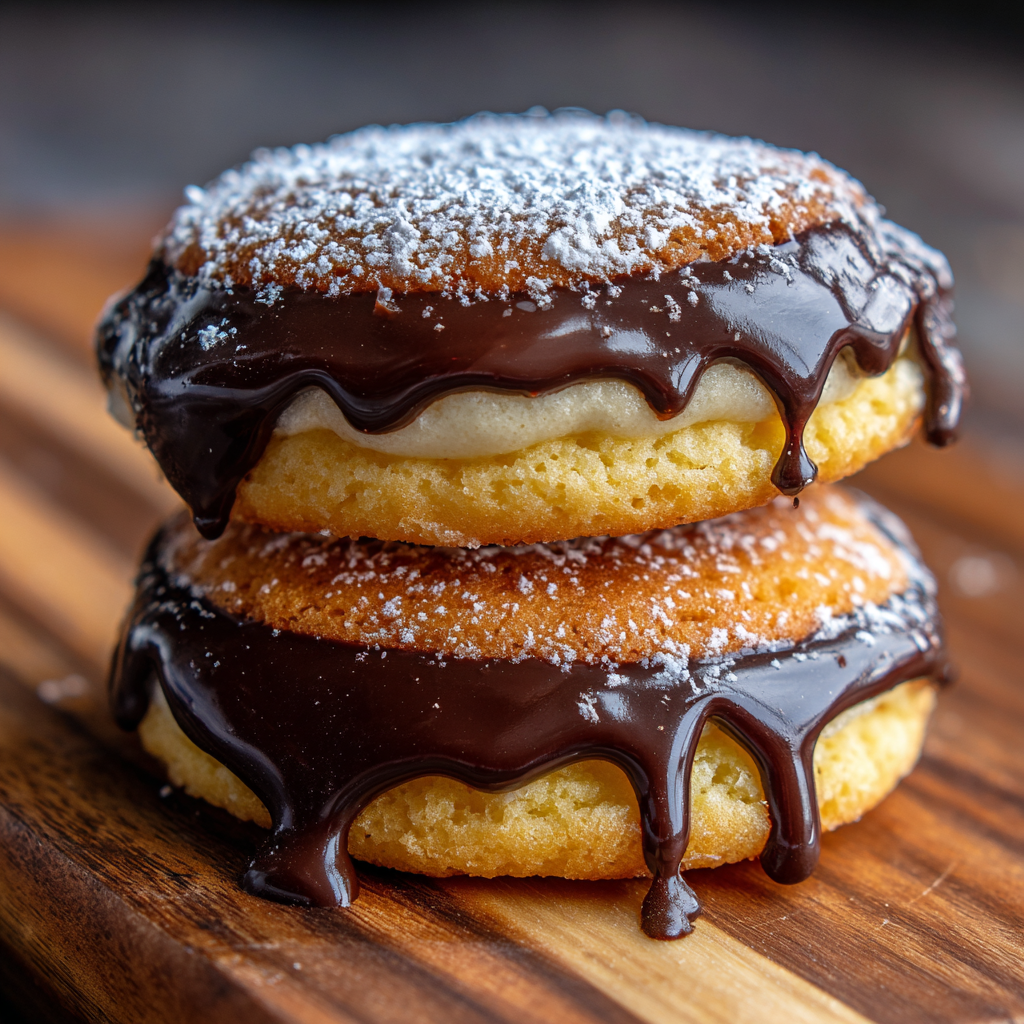
This chocolate sponge cake has been my signature when I want a dessert that feels elegant but isn't fussy. I first discovered this approach during a rainy weekend of testing layer cakes; I wanted something that felt like a classic Victorian sponge but with a touch of chocolate and a fresh fruit finish. The crumb is extraordinarily light — almost featherlike — because the eggs are treated gently and the batter is folded to preserve air. Paired with my homemade raspberry jam and a silky chocolate whipped cream, each bite balances sweet, tart, and airy textures.
I remember the first time I served this cake: it vanished before the coffee was ready. My neighbors asked for the recipe and my family dubbed it 'the clouds cake' because of how soft it felt on the tongue. The sponge achieves its texture through patient whipping and careful folding, and because there's very little fat in the batter, a quick brush of simple syrup after baking keeps the layers moist for days. This version uses familiar pantry staples and just a few technique points that make a big difference in lift and stability.
Why You'll Love This Recipe
- Light texture that still holds up when layered — perfect for celebrations and tall cakes without collapsing under filling weight.
- Quick to make: about 15 minutes active prep time and roughly 20 minutes in the oven, so it’s great for last-minute hosting.
- Uses pantry staples like all-purpose flour, cornstarch, cocoa powder and sugar; the recipe scales easily and uses simple equipment.
- Make-ahead friendly: you can bake layers a day ahead and keep them fresh with simple syrup or freeze them for longer storage.
- Versatile finishing options — I love it with raspberry jam and chocolate whipped cream, but it also pairs beautifully with lemon curd or pastry cream.
- Accessible technique: no specialty flours required and clear steps to stabilize whipped egg whites for reliable results every time.
Personally, the balance of the slight cocoa bitterness in the sponge with tart raspberry and light chocolate cream is what keeps me coming back. My family preferred this over store-bought celebratory cakes, and I’ve learned to trust gentle folding rather than frantic mixing — the small extra time and care pay off in each delicate slice.
Ingredients
- All-purpose flour: 2 tablespoons. Use a standard brand like King Arthur or a reliable supermarket all-purpose; combined with cornstarch it gives structure without heaviness.
- Cornstarch: 1/3 cup. This lightens the crumb and mimics cake flour when blended with all-purpose flour — essential for the tender sponge.
- Cocoa powder: 2 tablespoons for the sponge, plus 3 tablespoons for the chocolate whipped cream. Use an unsweetened Dutch-process or natural cocoa depending on availability — I use natural for a brighter chocolate lift.
- Instant coffee powder: 1 teaspoon. Enhances chocolate depth without tasting like coffee; dissolve quickly into the batter.
- Sugar: 2/3 cup granulated, divided. Splitting the sugar between egg whites and yolks stabilizes structure and adds tenderness.
- Eggs: 4 large, separated and at room temperature. Fresh eggs whip up better and yield more stable meringue.
- Vegetable oil: 2 tablespoons (canola or light-flavored oil). Adds the slightest amount of fat so the sponge stays tender but still light.
- Simple syrup: 1/4 cup sugar dissolved in 1/4 cup boiling water — brushed on warm layers to maintain moisture.
- Whipping cream: 2 cups cold heavy cream for the filling — whipped with confectioners’ sugar and cocoa for a stable, chocolatey topping.
- Raspberry jam filling: About 3/4 cup homemade or high-quality store-bought; I use a seedless jam for smooth layering.
- Vanilla and a splash of vinegar: 2 teaspoons vanilla extract and 1/8 teaspoon white vinegar to help stabilize the egg whites.
- Pinch of baking powder and salt: Small leavening and seasoning — baking powder 1/4 teaspoon balances lift when combined with the meringue.
Instructions
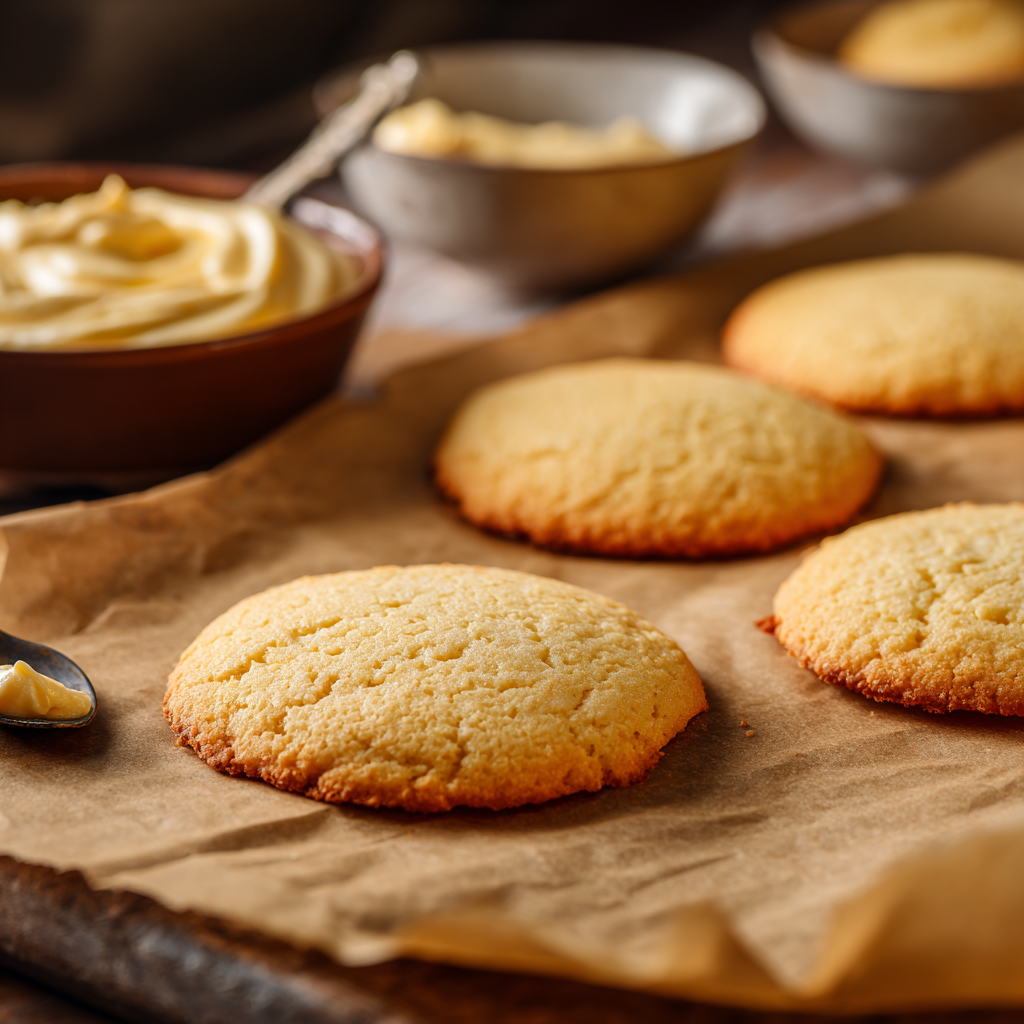
Preheat and prepare pans: Preheat your oven to 320°F (160°C) fan-assisted, or 347°F (175°C) conventional if you don’t have a fan. Line the bottoms of two 8 x 3-inch cake pans with baking paper. Do not grease the sides — the sponge needs to cling to the ungreased sides while rising. Combine dry ingredients: Whisk together 2 tablespoons all-purpose flour, 1/3 cup cornstarch, 1/4 teaspoon baking powder, 2 tablespoons cocoa powder, 1 teaspoon instant coffee, and 1/4 teaspoon salt until uniform. Set aside; no sifting required at this stage but you will sift into the batter later. Whip the egg whites: In a clean bowl, add 4 egg whites and 1/8 teaspoon white vinegar. Beat on medium-high until foamy, then gradually add half of the sugar (about 1/3 cup) and continue whipping until stiff peaks form. Beat a final minute on low speed to eliminate large bubbles — you want glossy, stable peaks. Whip the yolks and sweeten: In a separate bowl, combine the egg yolks with the remaining 1/3 cup sugar and 1.5 tablespoons warm water. Whip on medium-high for about 4 minutes until the mixture lightens and ribbons form. Add 2 teaspoons vanilla, then stream in 2 tablespoons oil while mixing on medium speed until incorporated. Fold batter: Gently fold half of the whipped whites into the yolk mixture to lighten it, then sift in the dry ingredients and fold until just combined. Fold in the remaining whites gently — break up large white pockets with a spatula but avoid overmixing to preserve air. Bake and cool upside down: Divide batter between pans, tap lightly to remove large air pockets, then bake for 20 minutes. The tops should spring back slowly when touched and a skewer should come out clean. Immediately tap pans on the counter and invert them while still in pans onto a wire rack to cool fully for about an hour — this prevents deflation. Brush with simple syrup: Stir 1/4 cup granulated sugar into 1/4 cup boiling water until dissolved. Brush the tops and sides of cooled layers generously to lock in moisture before assembling. Whip the chocolate cream: Whip 2 cups cold heavy cream with 3 tablespoons confectioners’ sugar, 3 tablespoons cocoa powder, and 1/2 teaspoon vanilla until stiff peaks form. Chill until assembly. Assemble: Place one layer on your board, spread a thin layer of raspberry jam, arrange halved strawberries if using, and cover with a generous layer of whipped chocolate cream. Top with second layer, crumb-coat or fully frost with remaining cream, and decorate with more strawberries.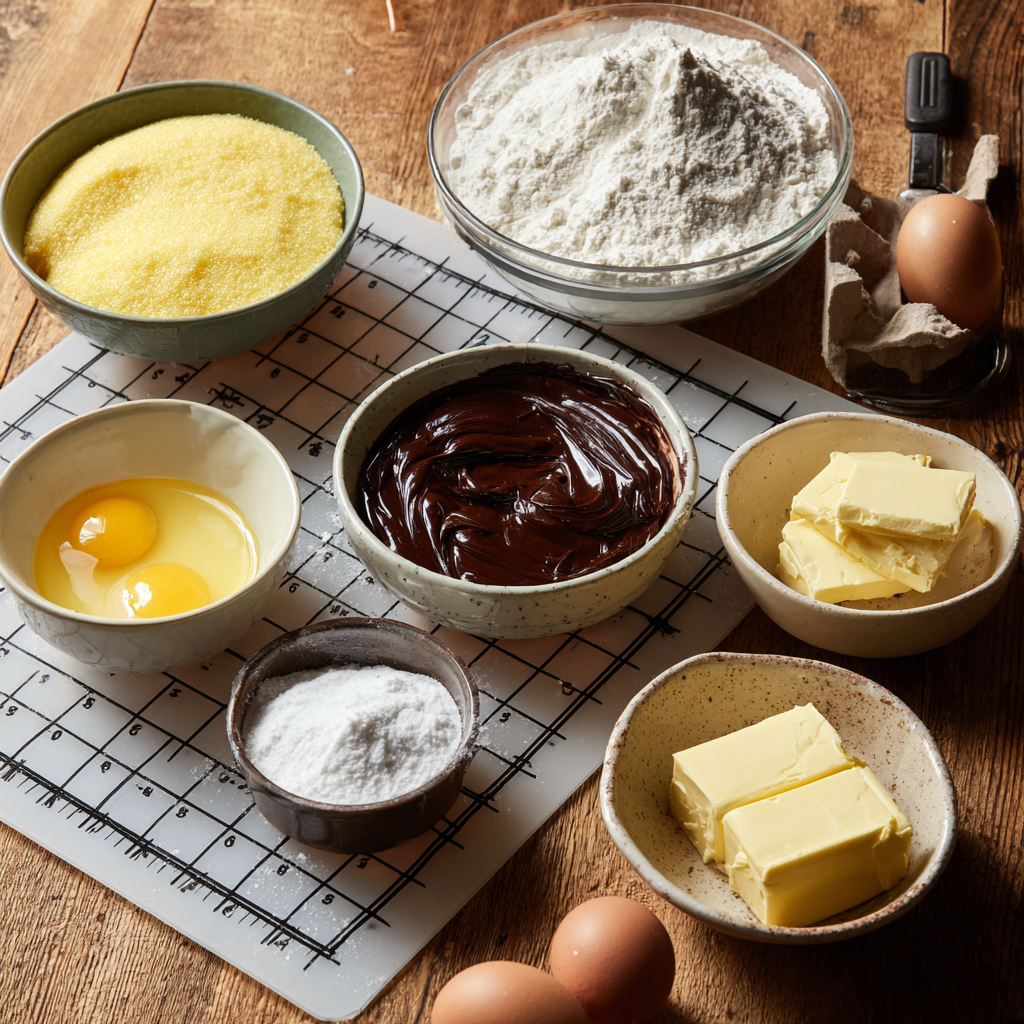
You Must Know
- The cake is low in fat compared with butter cakes, so simple syrup is essential to keep slices moist for longer.
- Room-temperature eggs whip up better, giving a higher volume meringue and more stable rise in the oven.
- Sponges freeze well: wrap layers tightly in plastic and freeze for up to 3 months; thaw overnight in the fridge before decorating.
- Because the batter relies on trapped air rather than chemical leavening, gentle folding and correct whipping are the main technical points.
My favorite aspect is how celebratory it looks despite being simple to make. I served this for a birthday once and a guest asked if I’d hired a bakery. It’s proof that technique can triumph over complexity — a few careful steps create a stunning result that’s light, tender and very memorable.
Storage Tips
Store the finished cake refrigerated in a cake box or covered with a cake dome for up to 3 days; the simple syrup slows drying and the whipped cream stays stable when chilled. For longer storage, freeze uniced layers tightly wrapped in plastic and foil for up to 3 months. When reheating single slices, bring to room temperature for 30 minutes — avoid microwaving whipped cream-covered slices as texture will change. Label wrapped layers with the date so you rotate the oldest first.
Ingredient Substitutions
If you can’t source cornstarch, use an equal amount of superfine white rice flour to preserve tenderness, though the crumb will be slightly different. For a dairy-free version, substitute the whipped cream with stabilized coconut cream whipped with a little powdered sugar and cocoa — the flavor shifts but the texture remains lush. If you only have cake flour, replace the 2 tablespoons all-purpose with 2 tablespoons cake flour and keep the cornstarch; avoid swapping both flours to cake flour together as this will alter structure.
Serving Suggestions
Serve slices with fresh berries and a dusting of cocoa or powdered sugar. For an afternoon tea, cut small rounds and present on doilies; for celebrations, layer three sponges and use piped rosettes of chocolate cream between layers. A drizzle of warmed raspberry coulis on the plate adds upscale presentation and contrasts nicely with the light sponge.
Cultural Background
This cake is inspired by the British Victorian sponge concept — a light, airy layered cake traditionally filled with jam and cream. The chocolate adaptation keeps the spirit of the original while adding cocoa depth and modern fillings like chocolate whipped cream. Victorian sponges were historically prized for their delicate crumb and even today the method of whipping eggs for air is central to that tradition.
Seasonal Adaptations
Spring and summer: use fresh strawberries and raspberry jam as suggested. Autumn and winter: swap the jam for warm citrus curd and add a pinch of cinnamon to the cream for seasonal spice. For holiday tables, scatter sugared cranberries on top and brush layers with a spiced simple syrup (add a cinnamon stick and orange peel to the syrup while it cools).
Meal Prep Tips
Bake the sponge layers well ahead and keep them wrapped at room temperature for 24 hours or refrigerated for 48 hours after brushing with syrup. Assemble the cake the day you plan to serve for the freshest whipped cream. If you need individual portions for grab-and-go breakfasts, slice and freeze single portions; thaw overnight in the fridge and top with fresh berries before serving.
When you make this cake, give yourself a little extra time for gentle folding and cooling — the patience rewards you with a featherlight texture and stunning presentation. Enjoy the process, and share slices with people you love.
Pro Tips
Use room-temperature eggs for better volume when whipping whites and yolks.
Brush layers generously with simple syrup to prevent dryness — this cake has low fat and benefits from added moisture.
When folding, use a large rubber spatula and rotate the bowl to minimize deflating the meringue.
Tap the pans and run a thin knife to remove large bubbles before baking to ensure even crumb.
This nourishing light & airy chocolate sponge cake recipe is sure to be a staple in your kitchen. Enjoy every moist, high protein slice — it is perfect for breakfast or as a wholesome snack any time.
Tags
Light & Airy Chocolate Sponge Cake
This Light & Airy Chocolate Sponge Cake recipe makes perfectly juicy, tender, and flavorful steak every time! Serve with potatoes and a side salad for an unforgettable dinner in under 30 minutes.
Ingredients
Sponge Cake
Simple Syrup
Whipping Cream
Raspberry Jam
Instructions
Preheat and prepare pans
Preheat oven to 320°F (160°C) fan or 347°F (175°C) conventional. Line bottoms of two 8 x 3 inch pans with baking paper; leave sides ungreased.
Combine dry ingredients
Whisk all-purpose flour, cornstarch, baking powder, cocoa, instant coffee and salt together and set aside until needed.
Whip egg whites
Beat egg whites with 1/8 teaspoon vinegar until foamy, then gradually add half the sugar and whip to stiff peaks. Finish on low to remove large bubbles.
Whip yolks and incorporate oil
Beat egg yolks with remaining sugar and warm water until thick and ribboning, add vanilla, then stream in oil while mixing until combined.
Fold batter
Fold half the whipped whites into the yolk mix to lighten, sift in dry ingredients and fold gently, finish with remaining whites until just combined.
Bake and cool
Divide batter into pans, tap to remove large bubbles, bake 20 minutes until slightly springy and a skewer comes out clean. Tap and invert pans on a wire rack to cool in the pans.
Brush with simple syrup
Mix 1/4 cup sugar with 1/4 cup boiling water until dissolved and brush onto cooled layers to keep them moist.
Whip the chocolate cream
Whip cold cream with confectioners' sugar, cocoa and vanilla to stiff peaks, chill until assembling the cake.
Assemble and decorate
Layer one cake with raspberry jam and strawberries, spread whipped chocolate cream, top with second layer and finish frosting and decorating with berries.
Last Step: Please leave a rating and comment letting us know how you liked this recipe! This helps our business to thrive and continue providing free, high-quality recipes for you.
Nutrition
Did You Make This?
Leave a comment & rating below or tag
@kitchenfunwithmy3sons on social media!
Categories:
You might also like...

10 Minute Immune Boosting Broth
A fast, nourishing broth packed with garlic, ginger, miso, and turmeric to support immunity. Ready in 10 minutes and naturally dairy free, gluten free, and vegan.
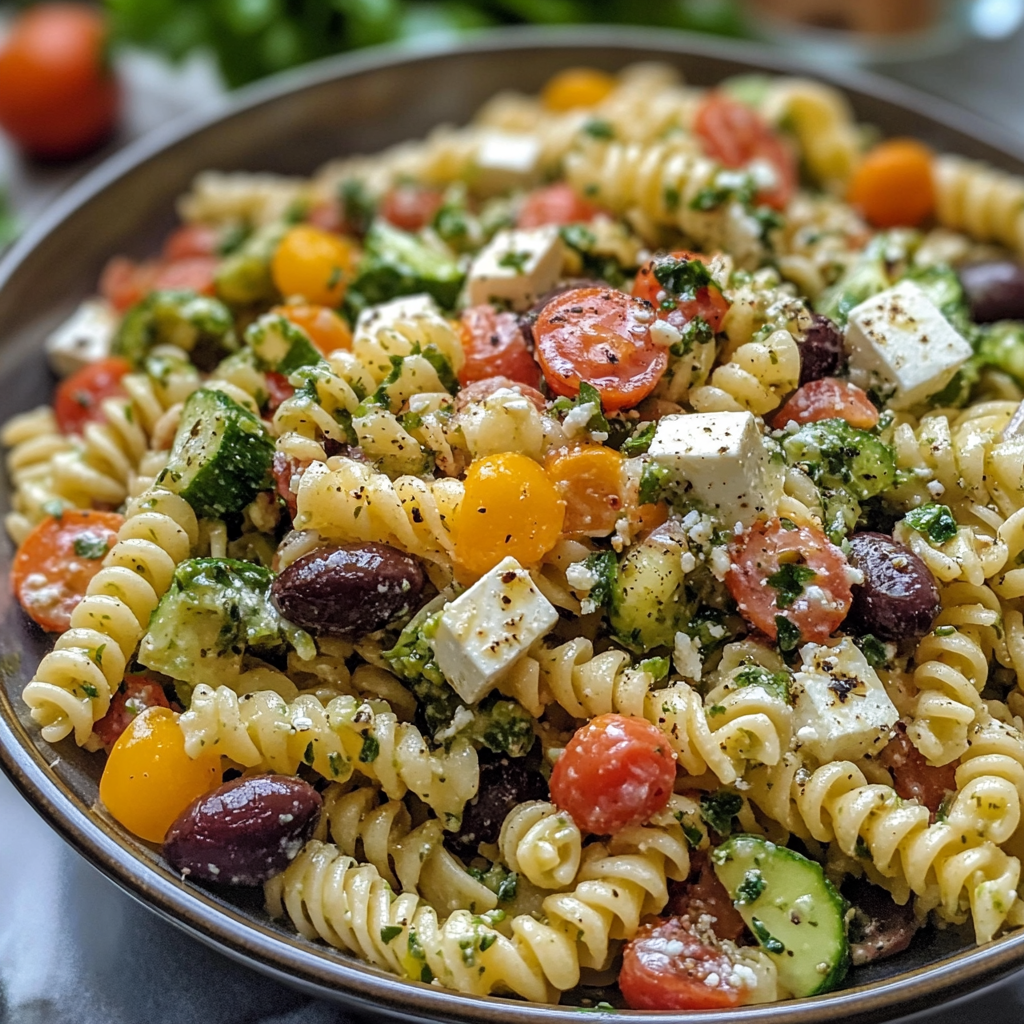
20-Minute Greek Pasta Salad
A bright, quick Greek-style pasta salad loaded with crunchy vegetables, Kalamata olives, tangy feta, and a creamy tzatziki dressing—ready in 20 minutes and perfect for summer gatherings.
Air Fried Crispy Onion
Make perfectly caramelized crispy onions in an air fryer with just a touch of oil for a crunchy, savory topping that elevates any dish.
Did You Make This?
Leave a comment & rating below or tag @kitchenfunwithmysons on social media!
Rate This Recipe
Share This Recipe
Enjoyed this recipe? Share it with friends and family, and don't forget to leave a review!
Comments (1)
This recipe looks amazing! Can't wait to try it.
Comments are stored locally in your browser. Server comments are displayed alongside your local comments.
Hi, I'm Rachel!
What's Popular

Get My 30-Minute Meals email series!
Quick and easy dinner ideas delivered to your inbox.