
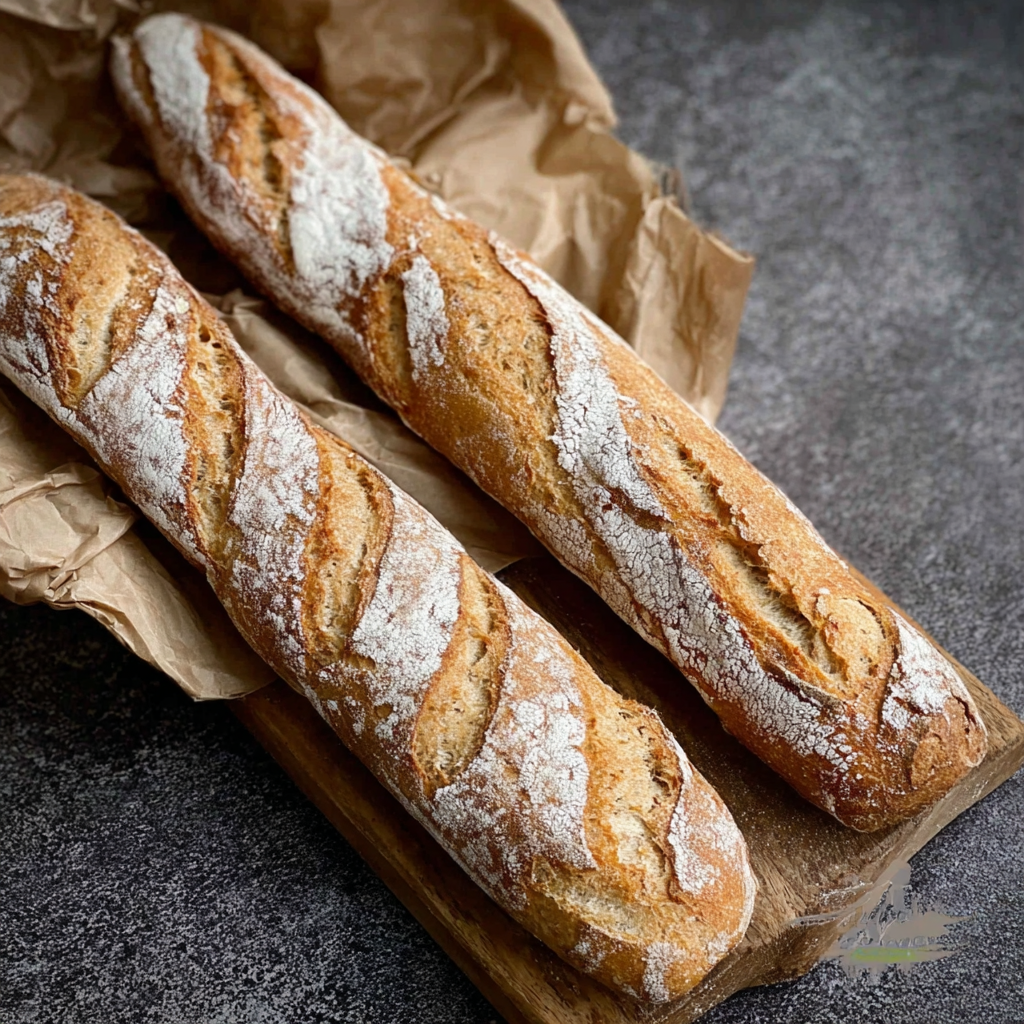
The Best Gluten Free Baguettes

These gluten-free baguettes deliver a soft, open crumb and a crisp, artisan-style crust—easy to make and perfect for slathering with butter.
Why You'll Love This Recipe
- This method delivers a soft, chewy open crumb with plenty of holes and a crisp, artisan-style crust while remaining entirely gluten-free.
- Uses pantry staples: tapioca starch, millet flour and sorghum flour, plus psyllium husk for structure—no specialty dough conditioners required.
- Reasonably quick: active hands-on time is about 1 hour, proofing 45 minutes, and total bake time under 30 minutes—great for weekend baking.
- Make-ahead friendly: dough can be portioned and proofed slightly less for same-day baking, or the baked baguettes freeze beautifully.
- Crowd-pleaser: familiar baguette texture and flavor mean even people who do not need to avoid gluten will enjoy these loaves.
- Flexible flour swaps: options for millet or brown rice flour and alternatives for tapioca make it adaptable based on what you have.
In my kitchen, these loaves have saved many last-minute dinners. I once made them for a neighborhood potluck and people kept asking if they were truly gluten-free. My partner insists on a second baguette every time I bake—I have learned to double the batch when guests come. The balance of starch and whole-grain flour produces a light crumb without the gummy mouthfeel common in many gluten-free breads.
Ingredients
- Psyllium husk: 5 tablespoons whole or rough psyllium husk (if using psyllium husk powder, use 4 tablespoons + 1 teaspoon). Psyllium creates a gel that mimics gluten’s elasticity; use whole husk for the best texture.
- Water, lukewarm: 2 cups lukewarm water (about 105 to 115°F). Warm water helps the psyllium hydrate quickly and wakes the yeast if using active dry yeast.
- Tapioca starch: 1 1/2 cups plus 1 tablespoon. Tapioca provides chewiness and contributes to an open crumb. If unavailable, arrowroot or cornstarch may be substituted in equal weight, but results will vary slightly.
- Millet flour: 1 1/3 cups, plus extra for dusting. Millet adds a gentle nutty flavor and lightness; finely milled brown rice can be swapped if preferred.
- Sorghum flour: 1/3 cup. Sorghum brings mild sweetness and structure—substitute light buckwheat or white teff if needed, or oat flour if oats are tolerated.
- Sugar: 2 tablespoons granulated or caster sugar. Feeds the yeast and aids browning.
- Salt: 2 teaspoons fine salt for flavor balance.
- Instant yeast: 2 teaspoons instant yeast (or 8 grams active dry yeast if you prefer to proof it first).
- Olive oil: 1 1/2 tablespoons. Adds tenderness and a subtle flavor to the crust and crumb.
- Apple cider vinegar: 2 teaspoons. A small acid helps dough strength and improves oven spring.
Instructions
Make the psyllium gel: In a medium bowl, whisk 5 tablespoons psyllium husk into 2 cups lukewarm water. After 30 to 45 seconds a thick gel forms. This gel is essential: it traps gas and provides elasticity similar to gluten, so let it hydrate fully before adding to the flour blend. Combine dry ingredients: In a large mixing bowl or the bowl of a stand mixer fitted with the dough hook, whisk together 1 1/2 cups plus 1 tablespoon tapioca starch, 1 1/3 cups millet flour, 1/3 cup sorghum flour, 2 tablespoons sugar, 2 teaspoons salt, and 2 teaspoons instant yeast. Ensure even distribution so yeast contacts liquids uniformly. Mix wet and dry: Make a well in the dry mix and pour in the psyllium gel, 1 1/2 tablespoons olive oil and 2 teaspoons apple cider vinegar. Knead on low speed or by hand with a spatula until the dough is smooth and comes away from the bowl sides. The dough should be soft but not overly sticky; resist adding more flour as that will dry the crumb. Portion and pre-shape: Turn dough onto a lightly floured surface and divide into three equal pieces (about 11.6 ounces each). Gently knead each portion to smooth the surface, cover the other pieces to prevent drying. Keep motions gentle to preserve trapped gas. Shape into baguettes: Flatten a portion into a rough 6 x 4.5 inch rectangle about 1/2 to 3/4 inch thick. Fold the wide edge over, sealing gently, then roll with your palms into a log 13 to 15 inches long, tapering the ends for the classic baguette shape. Place seam-side up on a well-floured proofing couche or a floured kitchen towel. Proof: Cover the loaves lightly with plastic wrap and proof in a warm spot for 45 minutes to 1 hour until roughly doubled. Proofing between couche folds keeps the shape and prevents spreading—check by gentle finger poke: the indentation should slowly spring back. Preheat oven and set up steam: Place a baking steel or heavy baking sheet on the middle rack and another metal tray on the lowest rack. Preheat to 480°F for at least 45 minutes to ensure the steel and oven are thoroughly heated. Heat retention is key for oven spring. Score and bake: Transfer loaves seam-side down to a parchment-topped peel or rimless baking sheet. Using a bread lame or sharp knife at 45 degrees, score each baguette 3 to 4 times. Slide onto the hot steel, quickly add 4 to 5 ice cubes into the bottom tray to generate steam, and bake at 480°F for 10 minutes with the oven closed. After 10 minutes, remove the steam tray, lower the heat to 425°F and bake another 15 to 20 minutes until deep golden brown. Cool before slicing: Remove baguettes from the oven and cool on a wire rack until at least lukewarm. Cutting too early yields a gummy crumb; a short wait allows the interior to set and finish cooking from residual heat.
You Must Know
- These loaves are best on the day they are baked; store in a paper bag or wrapped in a clean towel for up to 3 days to preserve a bit of crust texture.
- They freeze very well: cool completely, slice if desired, wrap tightly in freezer-safe bags and freeze up to 3 months. Rewarm at 350°F from frozen until hot.
- Psyllium gel is the structural backbone—do not skimp or substitute it entirely, otherwise the crumb will collapse.
- Steam during the first 10 minutes is critical for oven spring and a crisp crust; use ice cubes in a metal tray for a simple home method.
My favorite part is the transformation in the oven: those first ten minutes of steam produce dramatic rise and cause the crust to blister delightfully. At breakfast, a slice toasted with butter and a pinch of flaky salt becomes the highlight of the meal. Family members who avoid gluten often tell me they feel they are not missing out at all.
Storage Tips
These loaves keep best at room temperature on the day of baking. Use a bread box, paper bag or wrap loosely in a clean kitchen towel to avoid trapping moisture and softening the crust. For refrigeration avoid it—fridge air speeds staling. For longer storage, cool completely, double-wrap in plastic wrap and foil, and freeze up to 3 months. Reheat frozen loaves in a 350°F oven for 12 to 20 minutes depending on size; for slices, pop them straight into the toaster or toaster oven for best texture.
Ingredient Substitutions
If millet flour is unavailable, finely milled brown rice flour makes a good substitute in equal weight and keeps the flavor neutral. Tapioca starch can be swapped for arrowroot or cornstarch in equal weight, but expect a slightly different chew and less stretch. Sorghum can be replaced with light buckwheat or teff for different flavor notes; if using oat flour, ensure oats are certified gluten-free. If you only have active dry yeast, proof it in 1/2 cup warm water with half the sugar for 5 to 10 minutes until bubbly and then proceed.
Serving Suggestions
Serve warm with salted butter or quality olive oil and balsamic vinegar. For sandwiches, slice the baguette lengthwise after cooling for a crunchy base for roast beef, grilled vegetables or classic ham and cheese. Pair with soups and stews for dipping—this bread is particularly delicious with tomato soup or a French onion soup poured into a bowl for dunking. Garnish with fresh thyme or flaky sea salt for an elegant touch.
Cultural Background
The baguette is an icon of French baking, traditionally made from wheat flour and characterized by its long slender shape and crisp crust. This gluten-free adaptation borrows the shaping, scoring and steaming techniques of classic French methods while employing different flours and psyllium to simulate gluten’s structural properties. It celebrates the ritual of bread baking—scoring patterns and oven spring—while making the result accessible to those avoiding gluten.
Seasonal Adaptations
In winter, add a teaspoon of dried herbs like rosemary to the dough for warmth. In summer, serve these baguettes with chilled tomato salad or fresh mozzarella and basil. For holiday gatherings, shape smaller batards or finger baguettes to use as individual bread portions; brush with olive oil and sprinkle with coarse salt then warm prior to serving for a festive touch.
Meal Prep Tips
For meal prep, bake a double batch and freeze loaves individually wrapped. Slice before freezing for quick breakfast toast during the week. If you prefer to proof overnight, keep the shaped loaves refrigerated covered and bake directly from fridge, adding 5 to 10 minutes to the bake time. Use reusable silicone bags or vacuum sealers for best freezer protection.
These baguettes are a labor of love that reward careful technique with incredible flavor and texture. Whether you bake for dietary reasons or curiosity, you’ll find these loaves deliver both comfort and confidence. Try them once and you may never buy a store-bought gluten-free baguette again.
Pro Tips
Preheat the oven and baking steel or heavy sheet for at least 45 minutes to ensure maximum oven spring and a crisp crust.
Do not add extra flour beyond what the recipe calls for; additional flour will dry the crumb and make the baguettes dense.
Use ice cubes in a metal tray on the bottom rack for quick steam—avoid glass trays that could shatter.
Allow the loaves to cool to at least lukewarm before slicing to let the crumb finish setting from residual heat.
If proofing in a cool kitchen, use a warm oven (turned off) or near a warm appliance to encourage consistent rise.
This nourishing the best gluten free baguettes recipe is sure to be a staple in your kitchen. Enjoy every moist, high protein slice — it is perfect for breakfast or as a wholesome snack any time.
FAQs about Recipes
Can I freeze the baguettes?
Yes. These bread freeze very well. Cool completely, wrap tightly in plastic wrap and foil, then freeze up to 3 months. Reheat from frozen at 350°F for 12 to 20 minutes.
Can I use active dry yeast instead of instant?
Use 8 grams of active dry yeast and proof it in 1/2 cup warm water with half the sugar for 5 to 10 minutes until bubbly, then add to the dry ingredients as instructed.
Why is the crumb sticky if I cut it hot?
Let the loaves cool until at least lukewarm before slicing. Cutting too soon results in a gummy crumb because the interior needs residual heat to finish setting.
Tags
The Best Gluten Free Baguettes
This The Best Gluten Free Baguettes recipe makes perfectly juicy, tender, and flavorful steak every time! Serve with potatoes and a side salad for an unforgettable dinner in under 30 minutes.
Ingredients
Dry ingredients
Wet ingredients
Instructions
Prepare psyllium gel
Whisk psyllium husk into warm water and let it hydrate for 30 to 45 seconds until a thick gel forms. This gel provides elasticity and moisture retention in the absence of gluten.
Mix dry ingredients
Combine tapioca starch, millet flour, sorghum flour, sugar, salt and instant yeast in a large bowl and whisk to evenly distribute ingredients.
Combine wet and dry
Make a well in the dry mix and add the psyllium gel, olive oil and vinegar. Mix and knead until the dough is smooth, coming away from the bowl sides without extra flour.
Portion and pre-shape
Turn the dough out, divide into three equal portions (about 11.6 ounces each), and gently knead to smooth. Keep unused portions covered to prevent drying.
Shape baguettes
Flatten each portion into a rectangle, fold and roll into a log 13 to 15 inches long, tapering the ends. Place seam-side up in floured couche folds or on a floured towel.
Proof
Cover lightly with plastic wrap and proof in a warm spot for 45 minutes to 1 hour until roughly doubled in size and springy to the touch.
Preheat oven and set steam
Preheat oven to 480°F with a baking steel on the middle rack and a metal tray on the bottom rack for at least 45 minutes. The oven and steel must be thoroughly hot for best oven spring.
Score and bake
Transfer loaves seam-side down to parchment on a peel, score each with 3 to 4 slashes, slide onto the hot steel, add 4-5 ice cubes to the bottom tray for steam, and bake at 480°F for 10 minutes. Remove steam tray, lower to 425°F and bake another 15-20 minutes until deep golden.
Cool
Cool on a wire rack until at least lukewarm before slicing to allow the crumb to finish setting and avoid a gummy interior.
Last Step: Please leave a rating and comment letting us know how you liked this recipe! This helps our business to thrive and continue providing free, high-quality recipes for you.
Nutrition
Did You Make This?
Leave a comment & rating below or tag
@kitchenfunwithmy3sons on social media!
Categories:
You might also like...
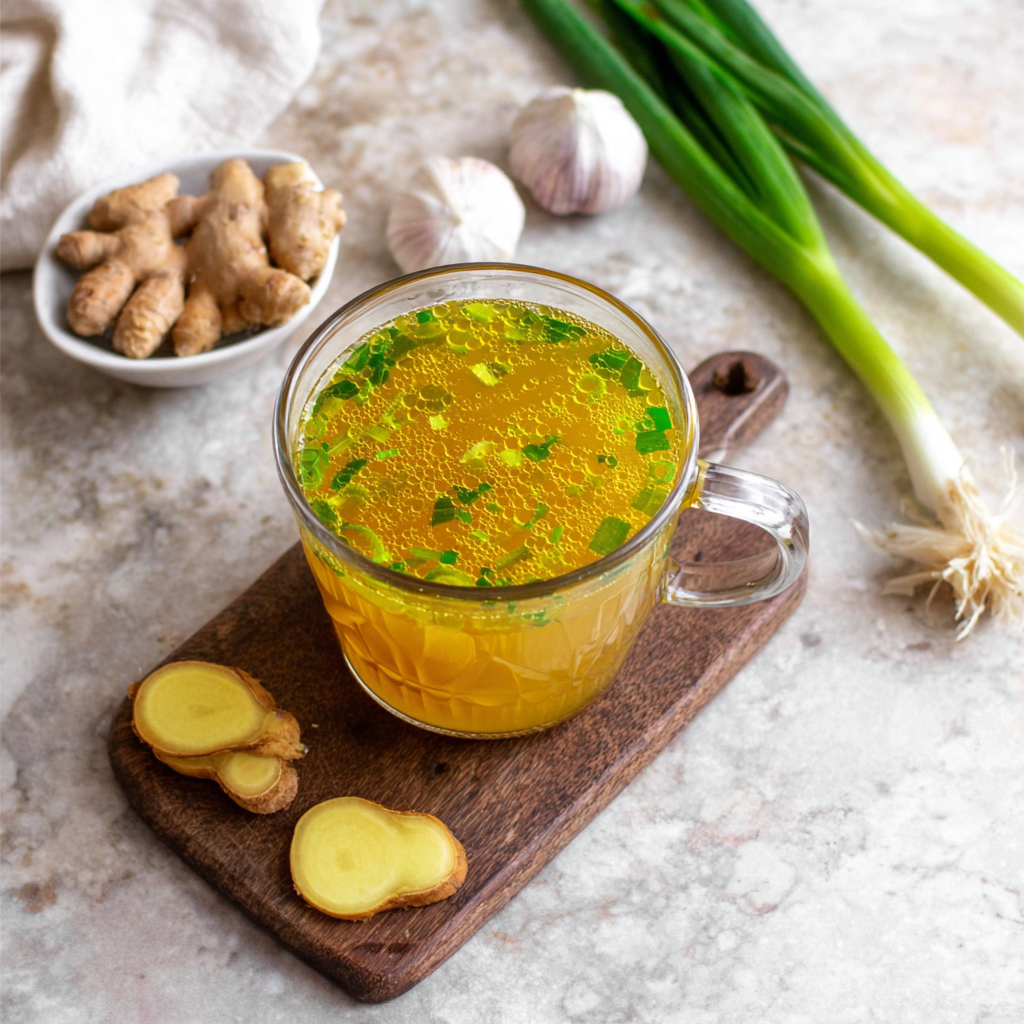
10 Minute Immune Boosting Broth
A fast, nourishing broth packed with garlic, ginger, miso, and turmeric to support immunity. Ready in 10 minutes and naturally dairy free, gluten free, and vegan.
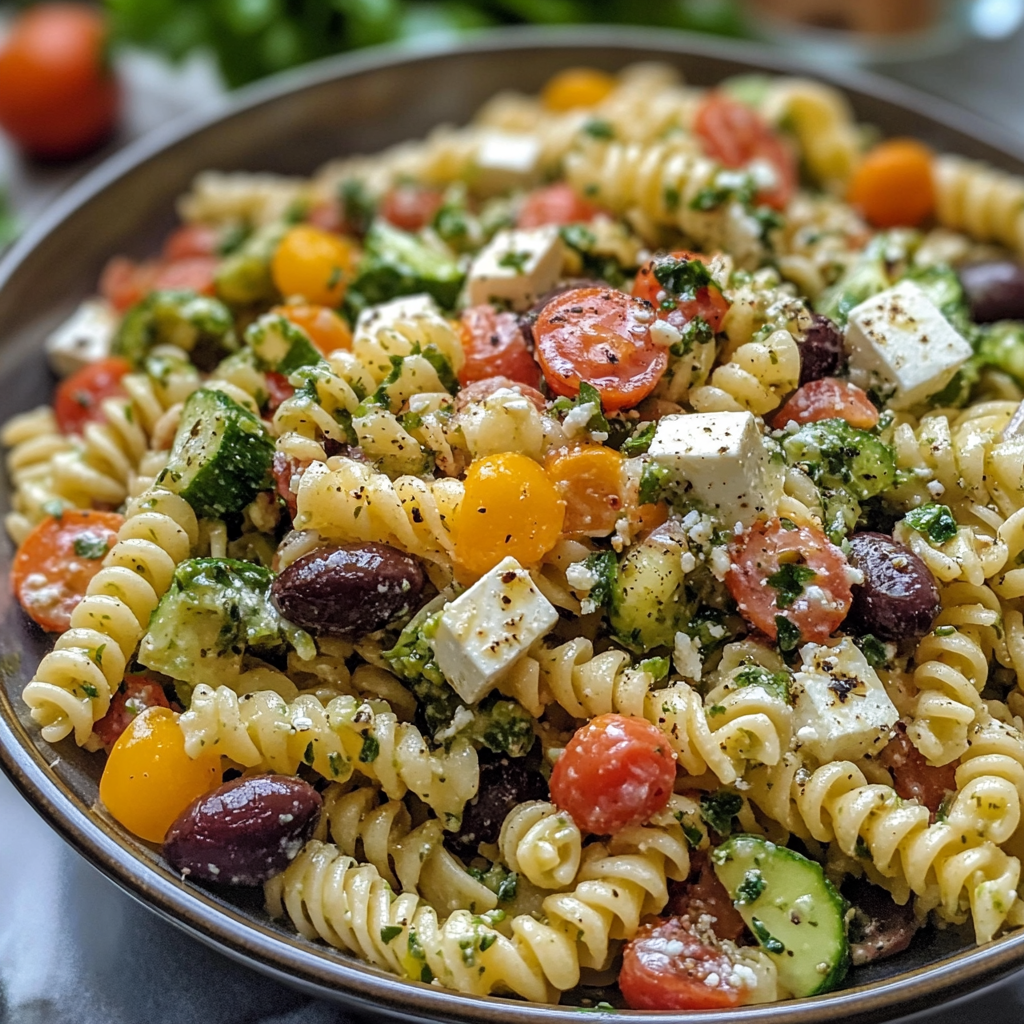
20-Minute Greek Pasta Salad
A bright, quick Greek-style pasta salad loaded with crunchy vegetables, Kalamata olives, tangy feta, and a creamy tzatziki dressing—ready in 20 minutes and perfect for summer gatherings.
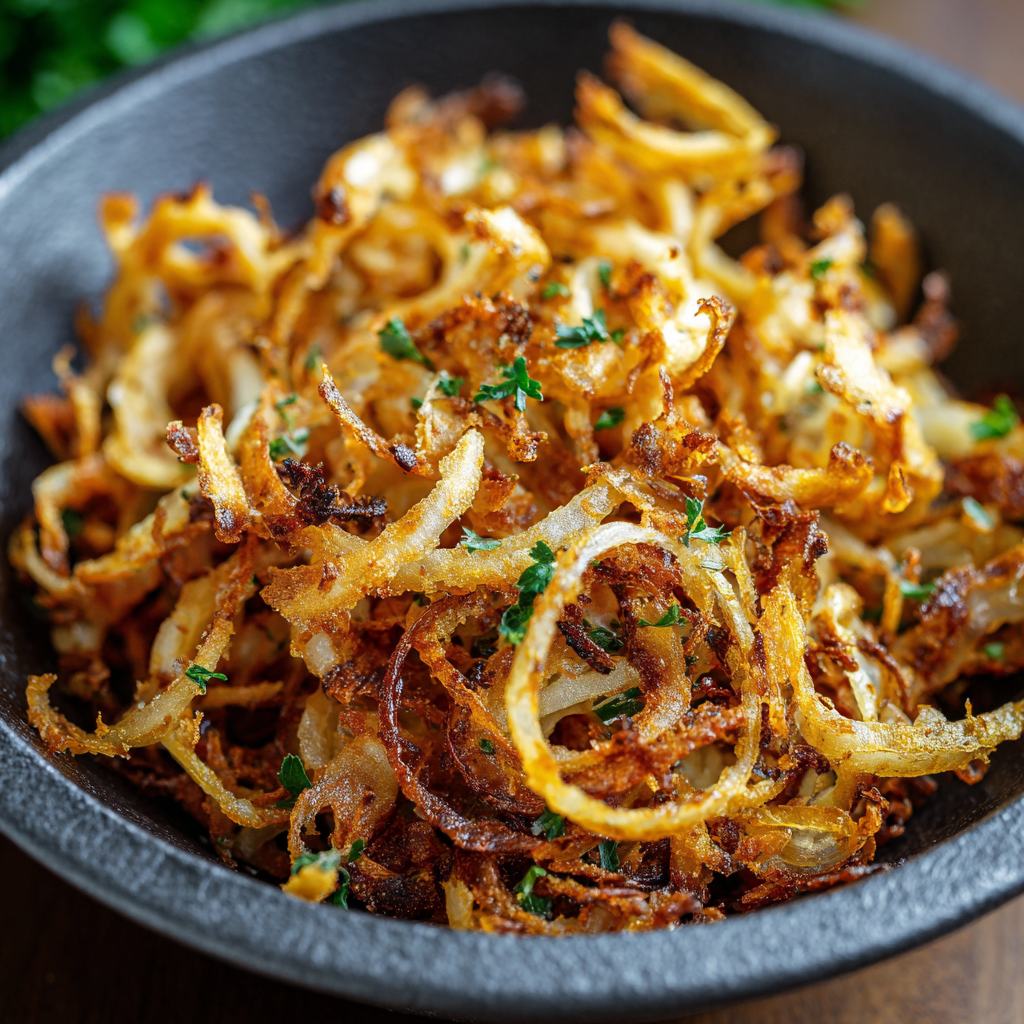
Air Fried Crispy Onion
Make perfectly caramelized crispy onions in an air fryer with just a touch of oil for a crunchy, savory topping that elevates any dish.
Did You Make This?
Leave a comment & rating below or tag @kitchenfunwithmysons on social media!
Rate This Recipe
Share This Recipe
Enjoyed this recipe? Share it with friends and family, and don't forget to leave a review!
Comments (1)
This recipe looks amazing! Can't wait to try it.
Comments are stored locally in your browser. Server comments are displayed alongside your local comments.
Hi, I'm Rachel!
What's Popular

Get My 30-Minute Meals email series!
Quick and easy dinner ideas delivered to your inbox.